FREE PATTERN: Harem Shorts Size 56 - 68 / 0 - 5 months
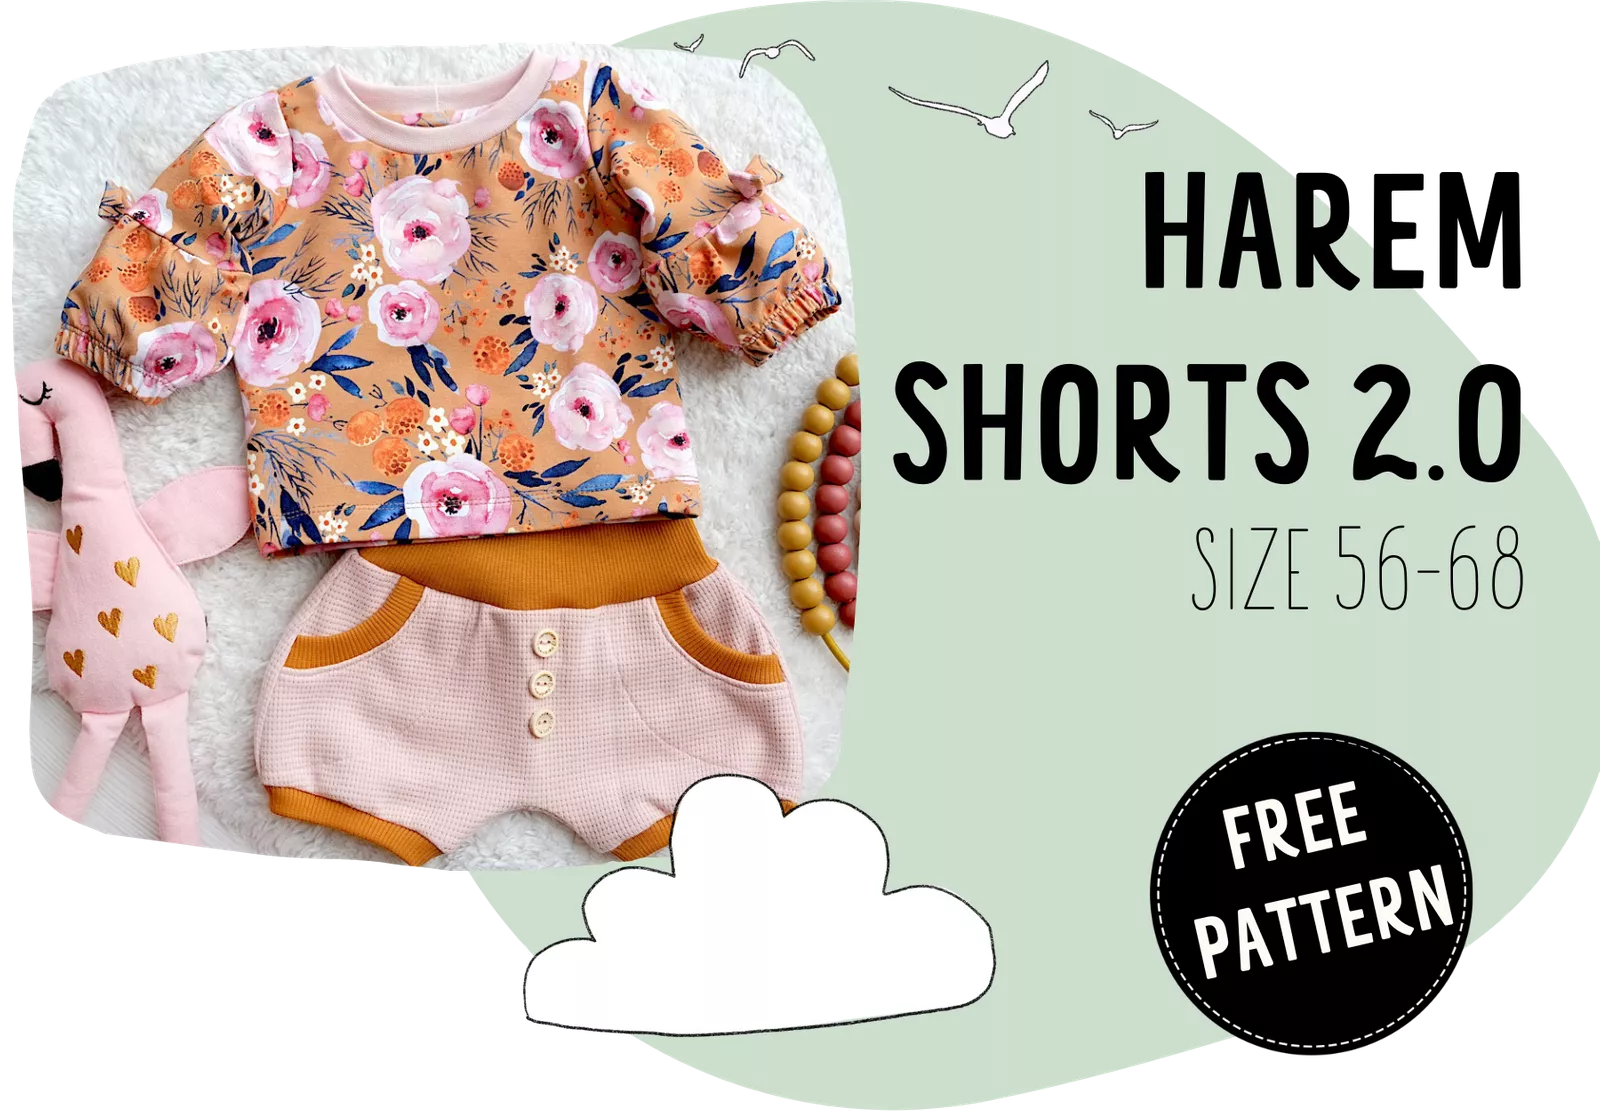
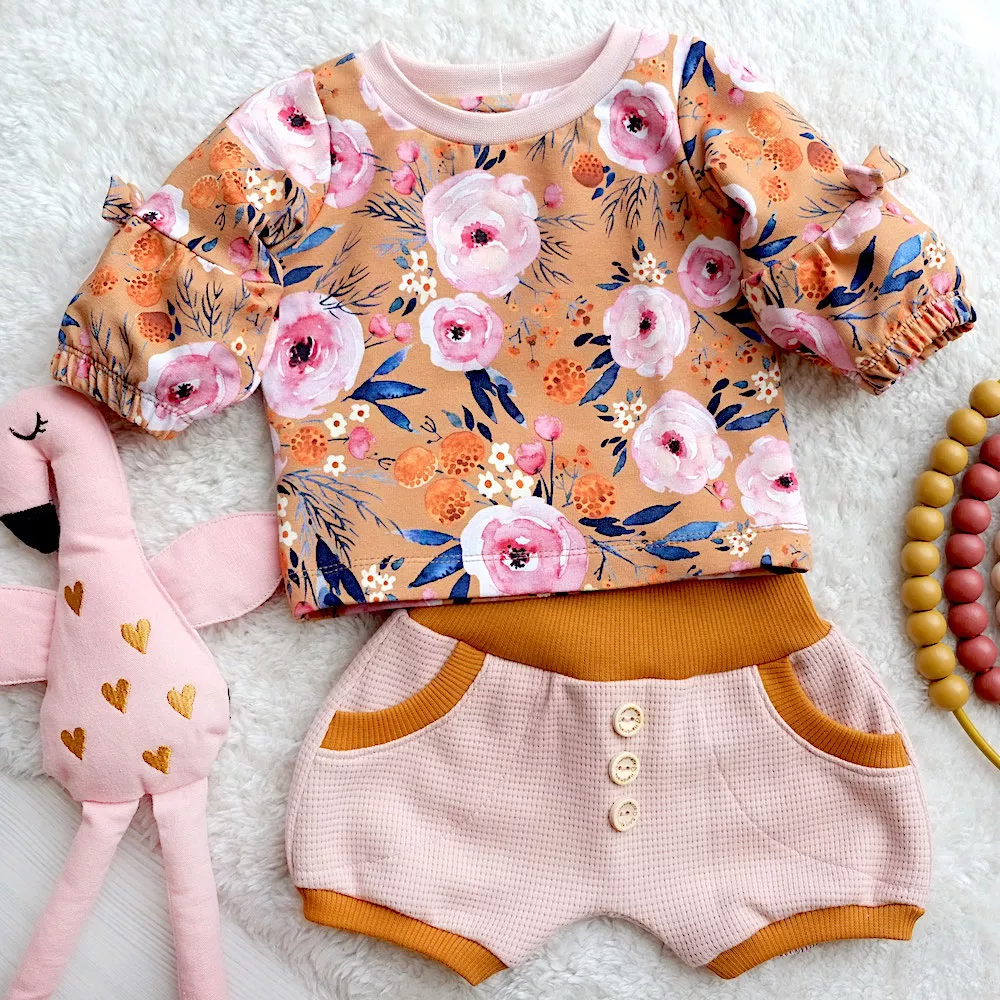
The harem shorts 2.0 is perfect as a birth gift for summer babies, the panties are ideal! Maybe add a baby tunic and the outfit is complete!
The European sizes are based on the child’s height measured in centimeters. In the ebooks, the sizes are indicated in both ways, centimeters, and inches of course. Also, the fabric requirement is listed in centimeters and yards. The size 56 is for newborns (for newborns that are not taller than 56 cm / 22 inches). Size 62 is for 0-2 months old babies and size 68 is for 2-5 months old babies (which are not taller than 68 cm / 27 inches).
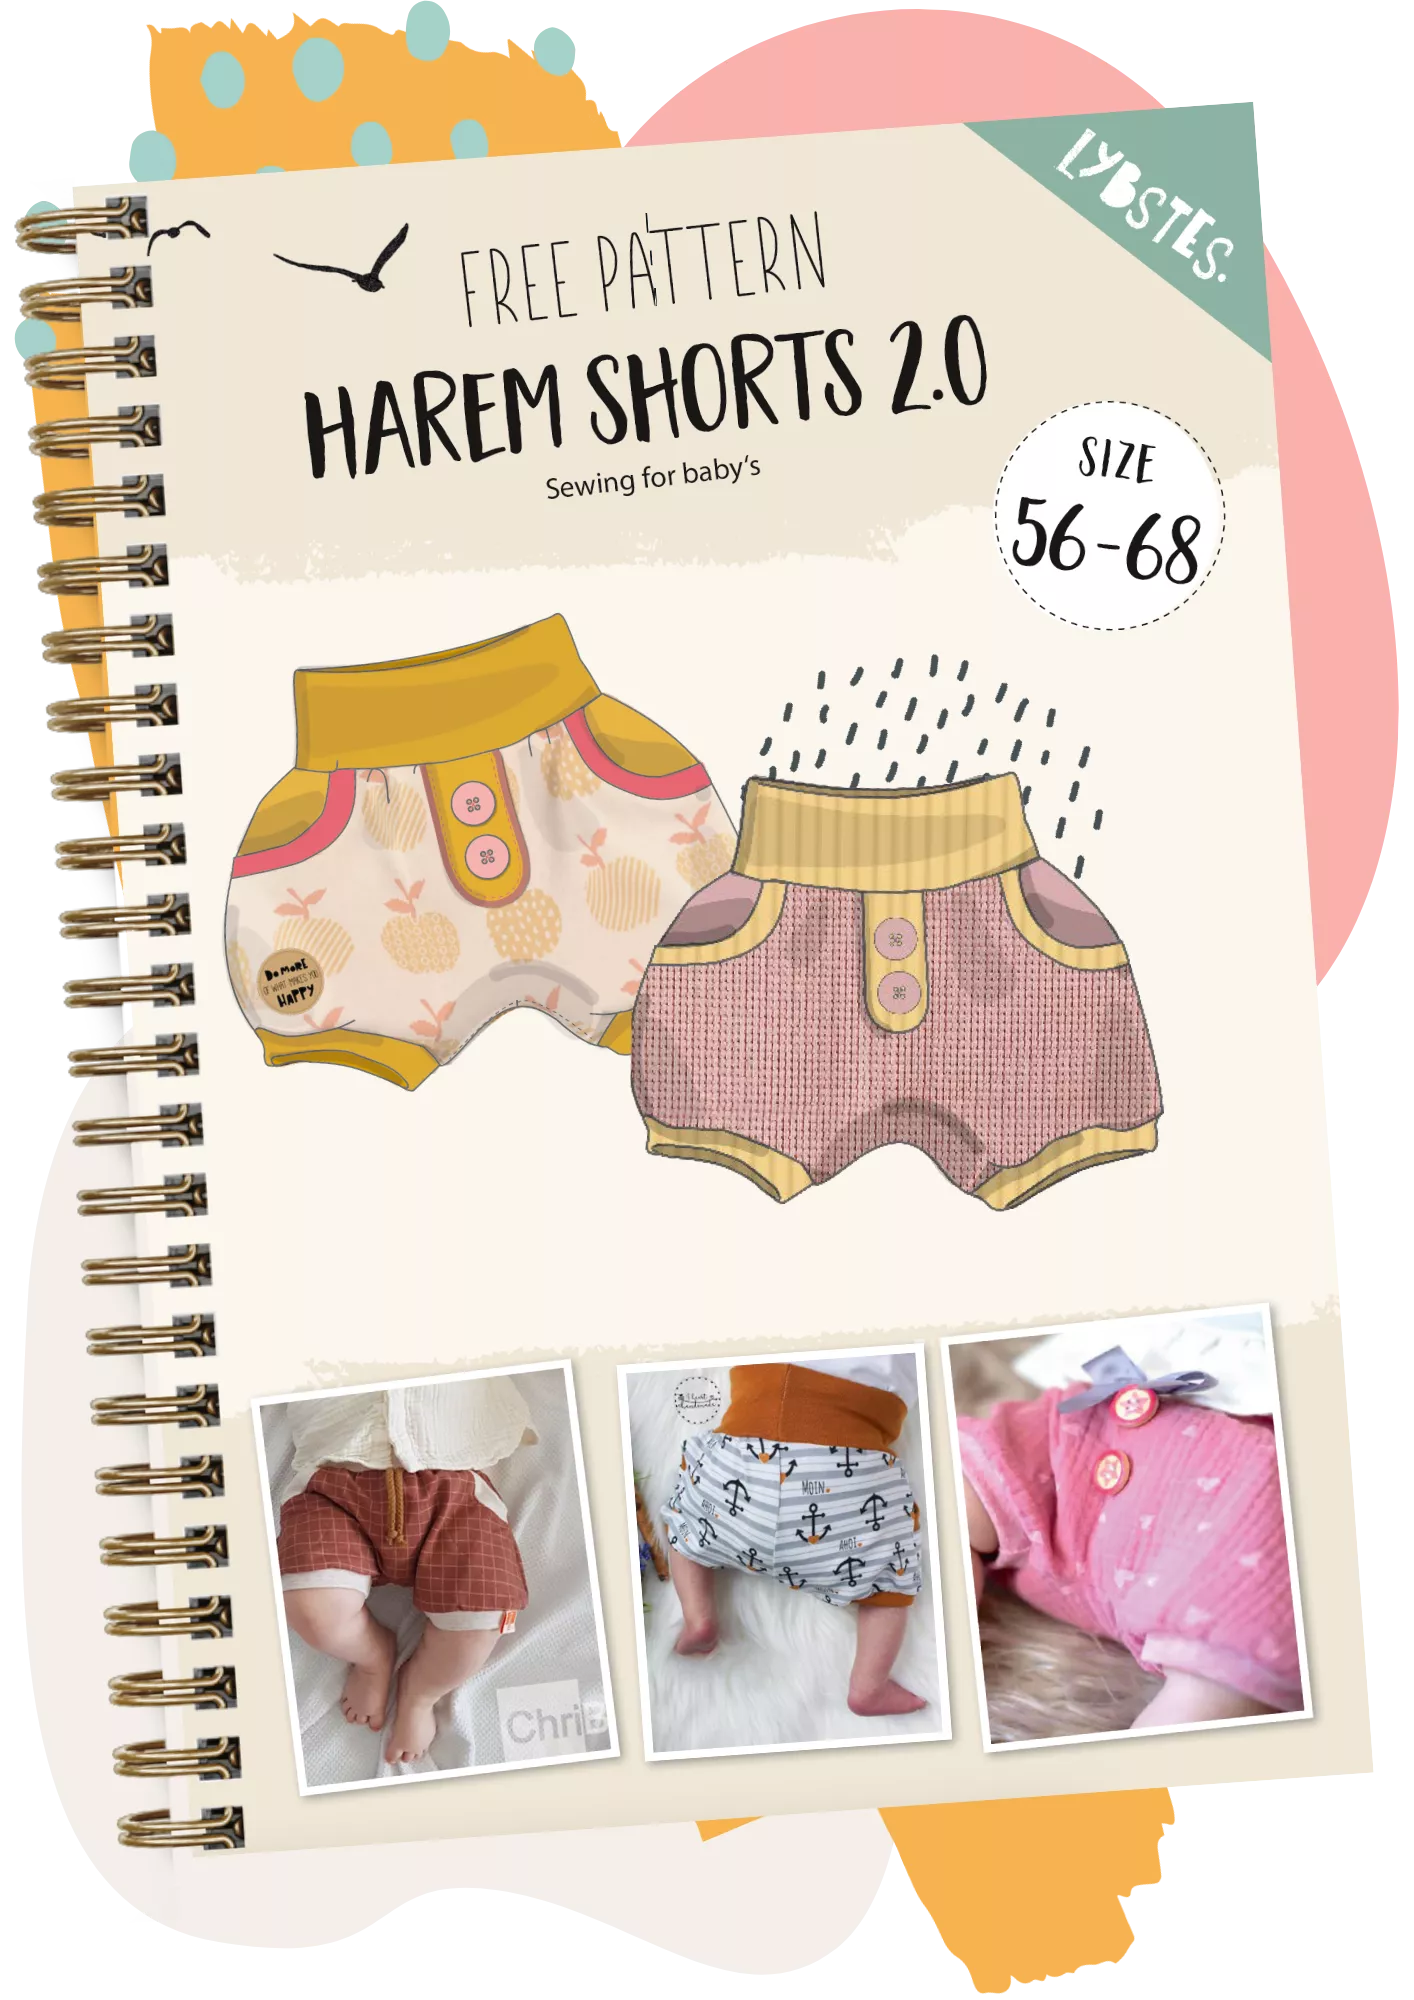
Free Pattern: Harem shorts 2.0 for Babies
PDF PATTERN FOR DIN A4 PRINT
Download the pattern and print it at home! Make sure to print at „Actual Size“. Do not scale! Check the test square to make sure that the pattern is printing at the correct size. The edges and markings on each page help you assemble the pattern in the right way. Match up 1 with 1, 2 with 2, etc.
DownloadRecommended Fabrics
The harem shorts are designed for knit fabrics, like french terry and jersey. However, you may use woven fabrics, like linen, double gauze, or denim. There is enough ease included in the pattern.
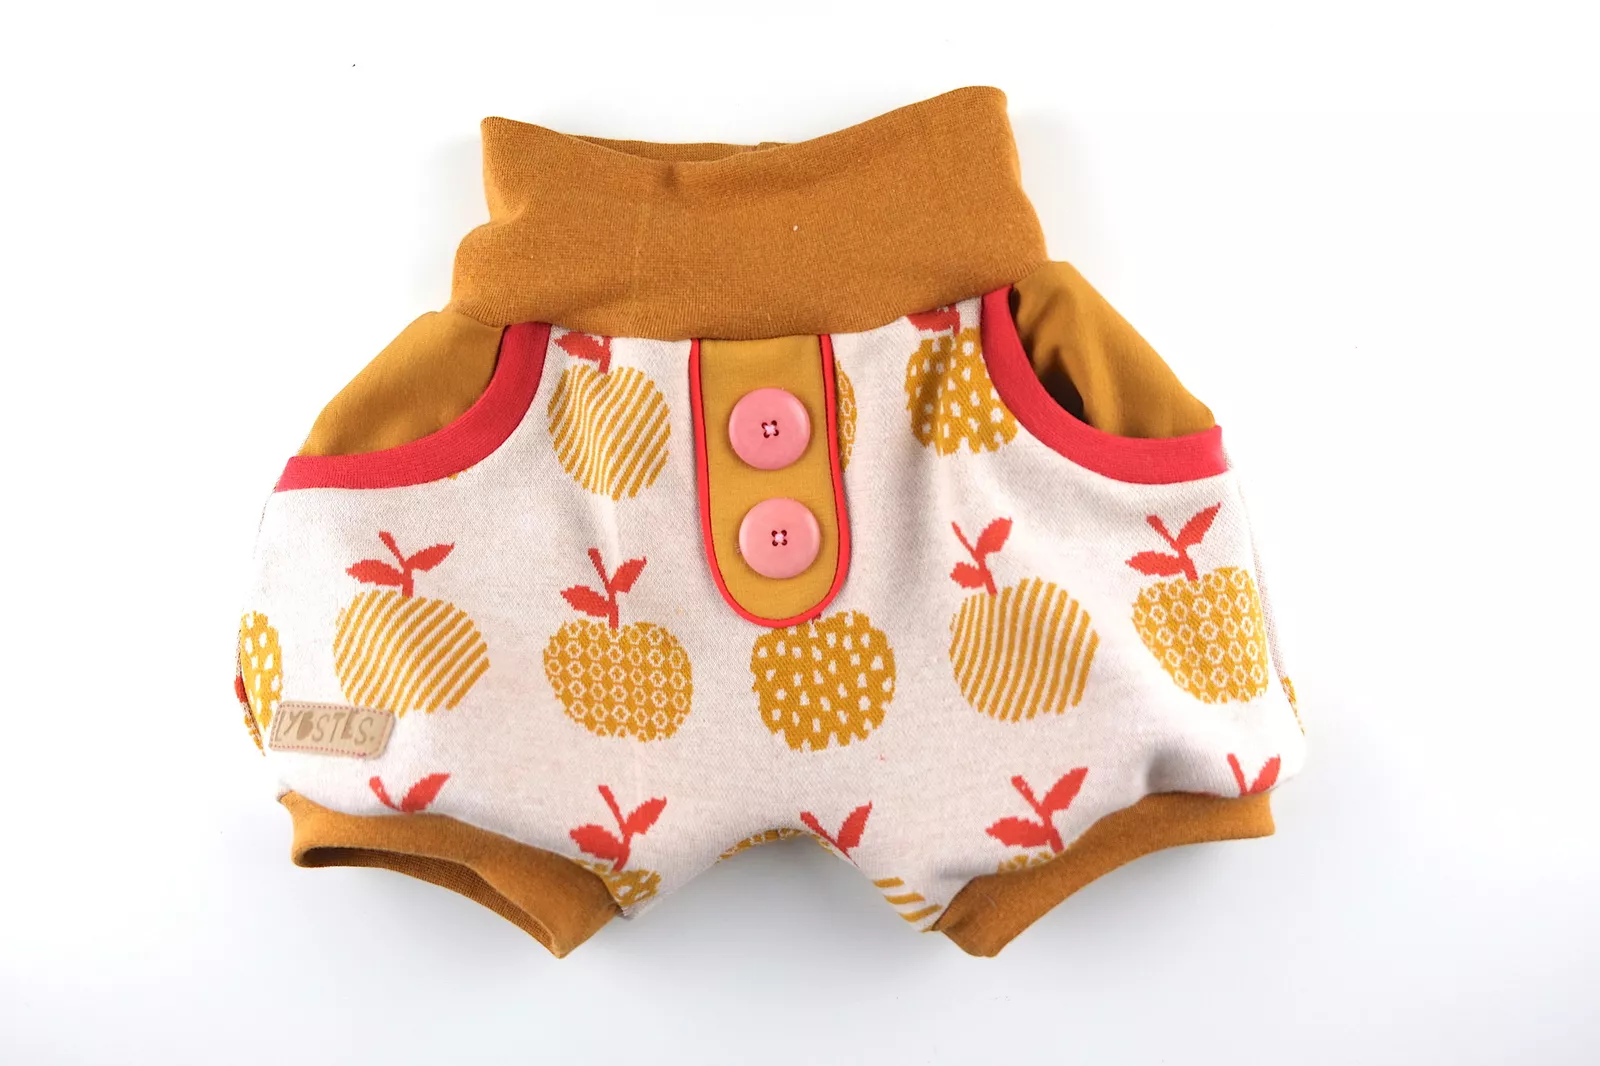
Also one of my absolute favourite pieces: the harem shorts in a (not very stretchy) jacquard fabric with a fake button placket and piping.
Woven fabric is also no problem. In the instructions, for example, I used a thin linen fabric. With thin woven fabric or muslin, you just have to make sure that you finish the seam with a straight stitch! Otherwise the fabric can tear quickly. Sweat and jersey are also great, of course! Especially for the little ones, it's most pleasant when the fabrics are nice and stretchy and there's room for the nappy bum!
Step-by-Step instructions
In the following, I‘ll explain how to sew basic harem shorts with scoop pockets and faux drawstrings. If you do not want to add pockets or the faux drawstring, just omit the relevant steps.
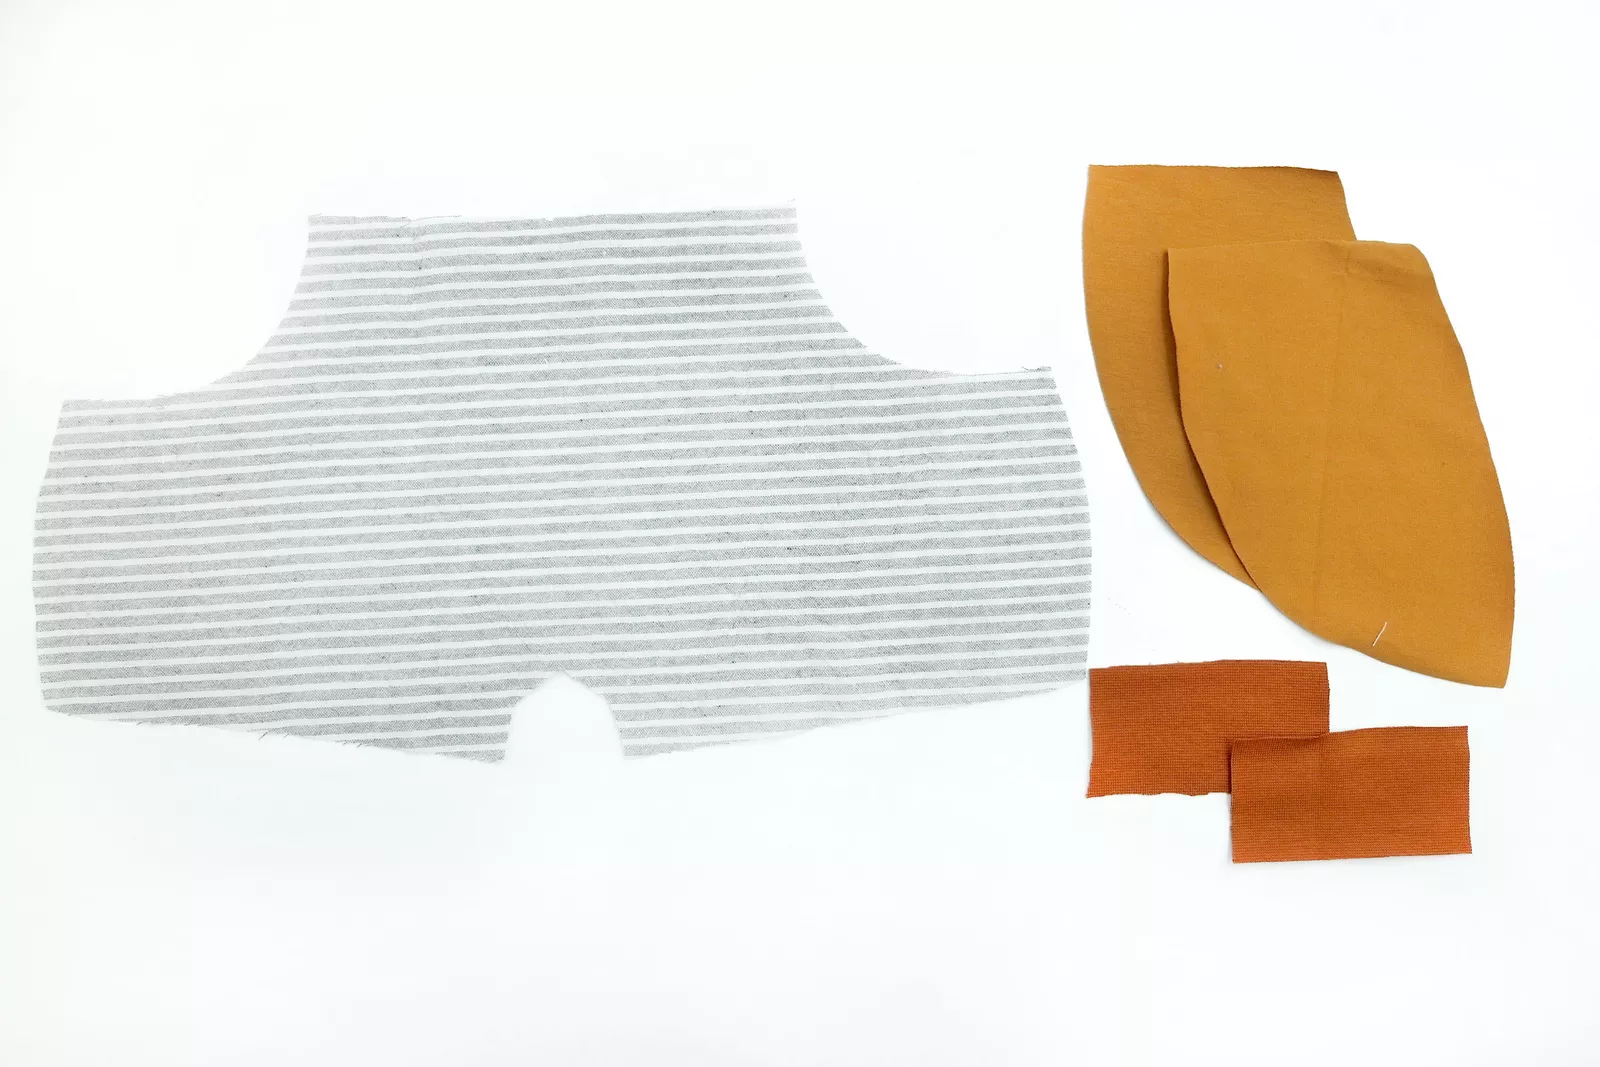
Step 1: If you want to add scoop pockets, cut the front with pocket openings. Also, cut two pocket pieces (mirror images) and two pocket bands.
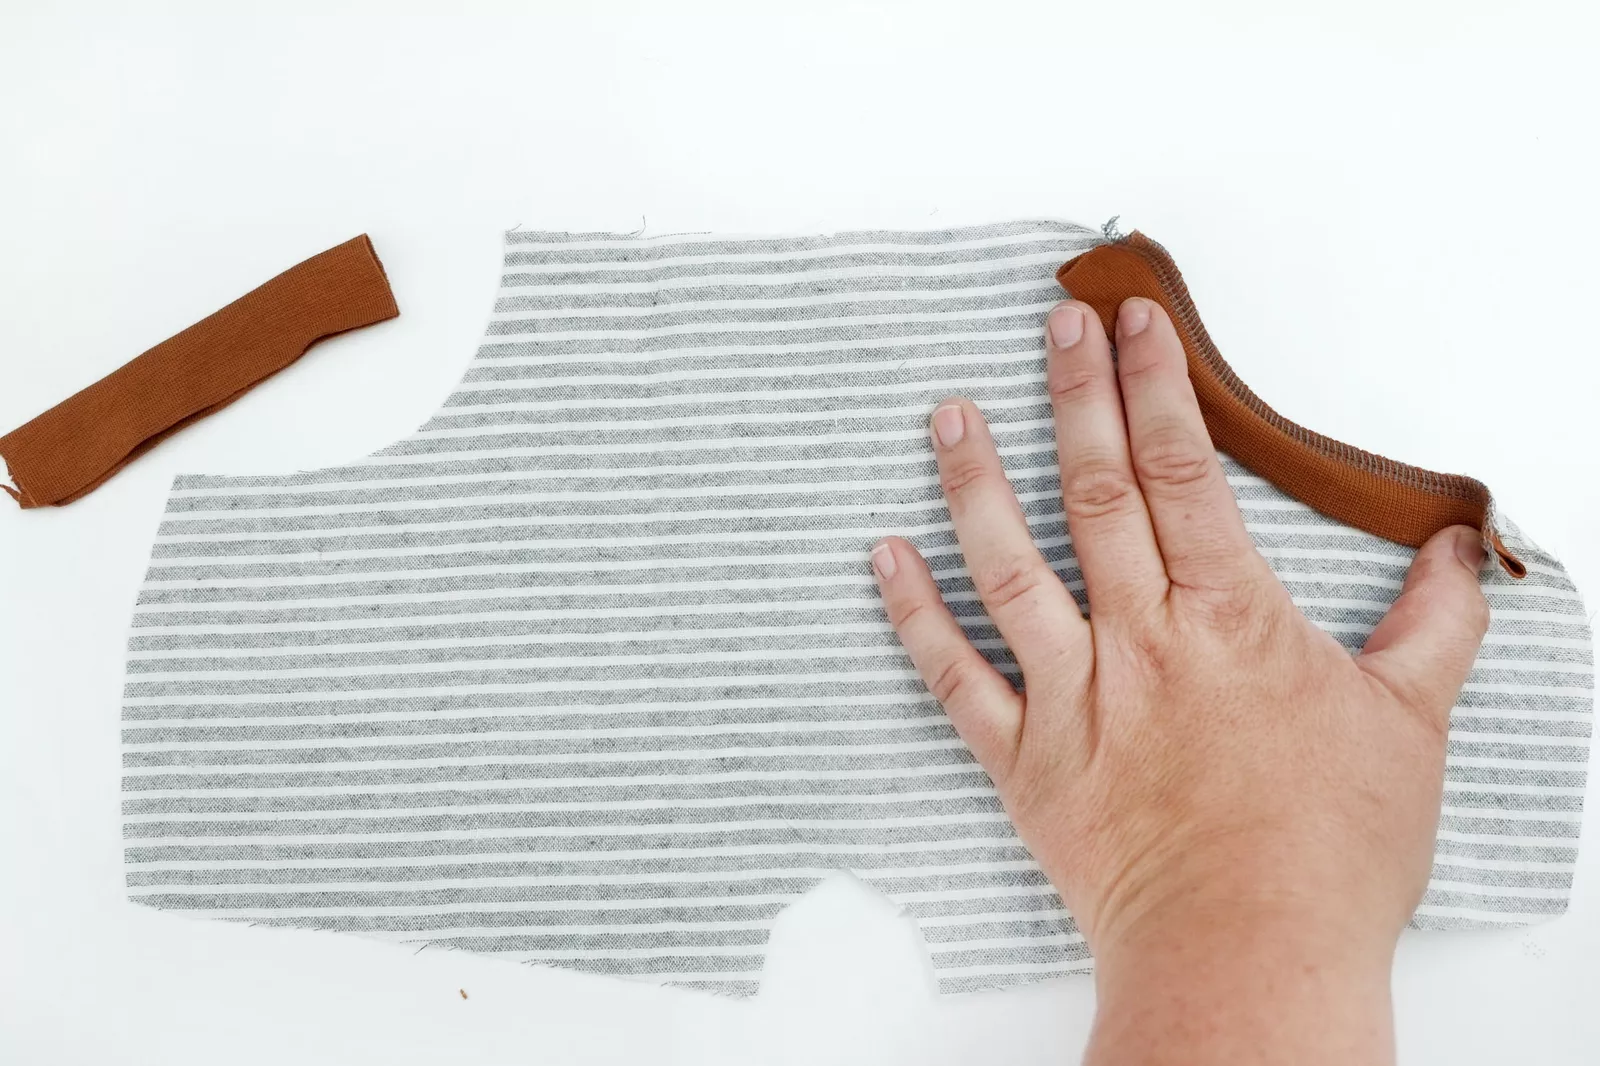
Step 2: Fold your pocket bands with wrong sides together. Pin them, evenly stretched, to the pocket openings with right sides together and raw edges aligned. Fold the ribbings away from the pockets and the seam allowance to the pockets. Press.
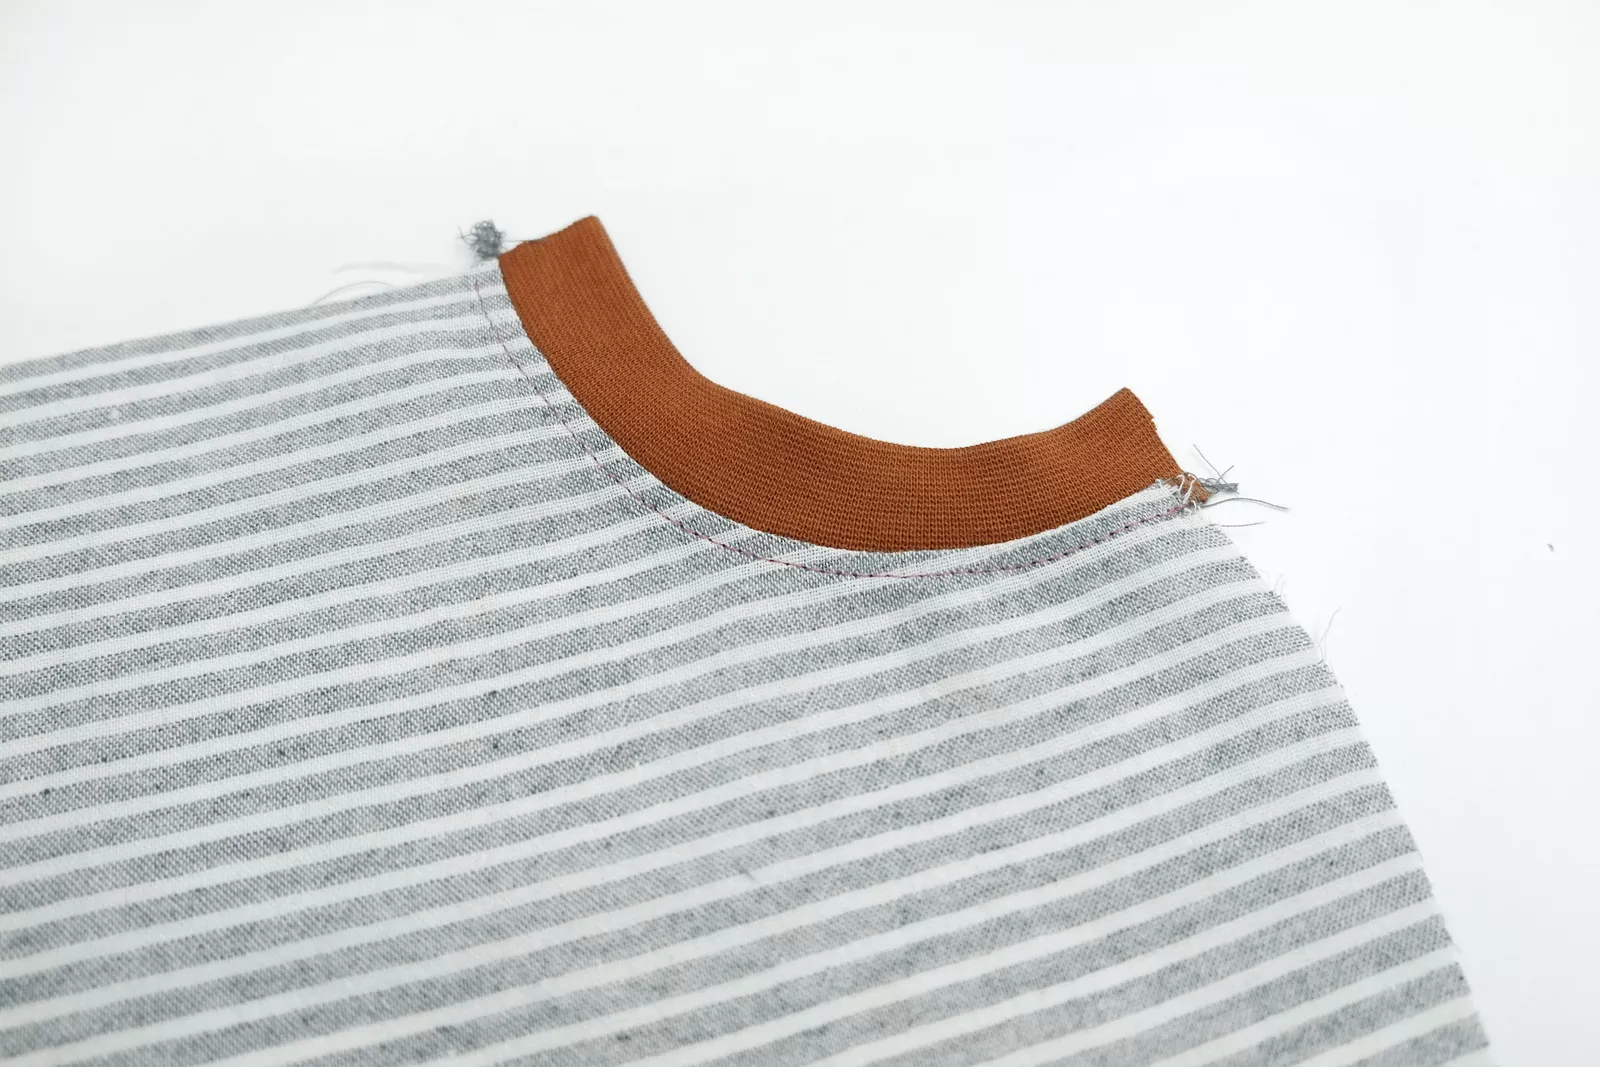
Step 3: You may topstitch close to the pocket edge. This will secure the seam allowance, too. Use a long straight stitch (stitch length 3.5 -4).
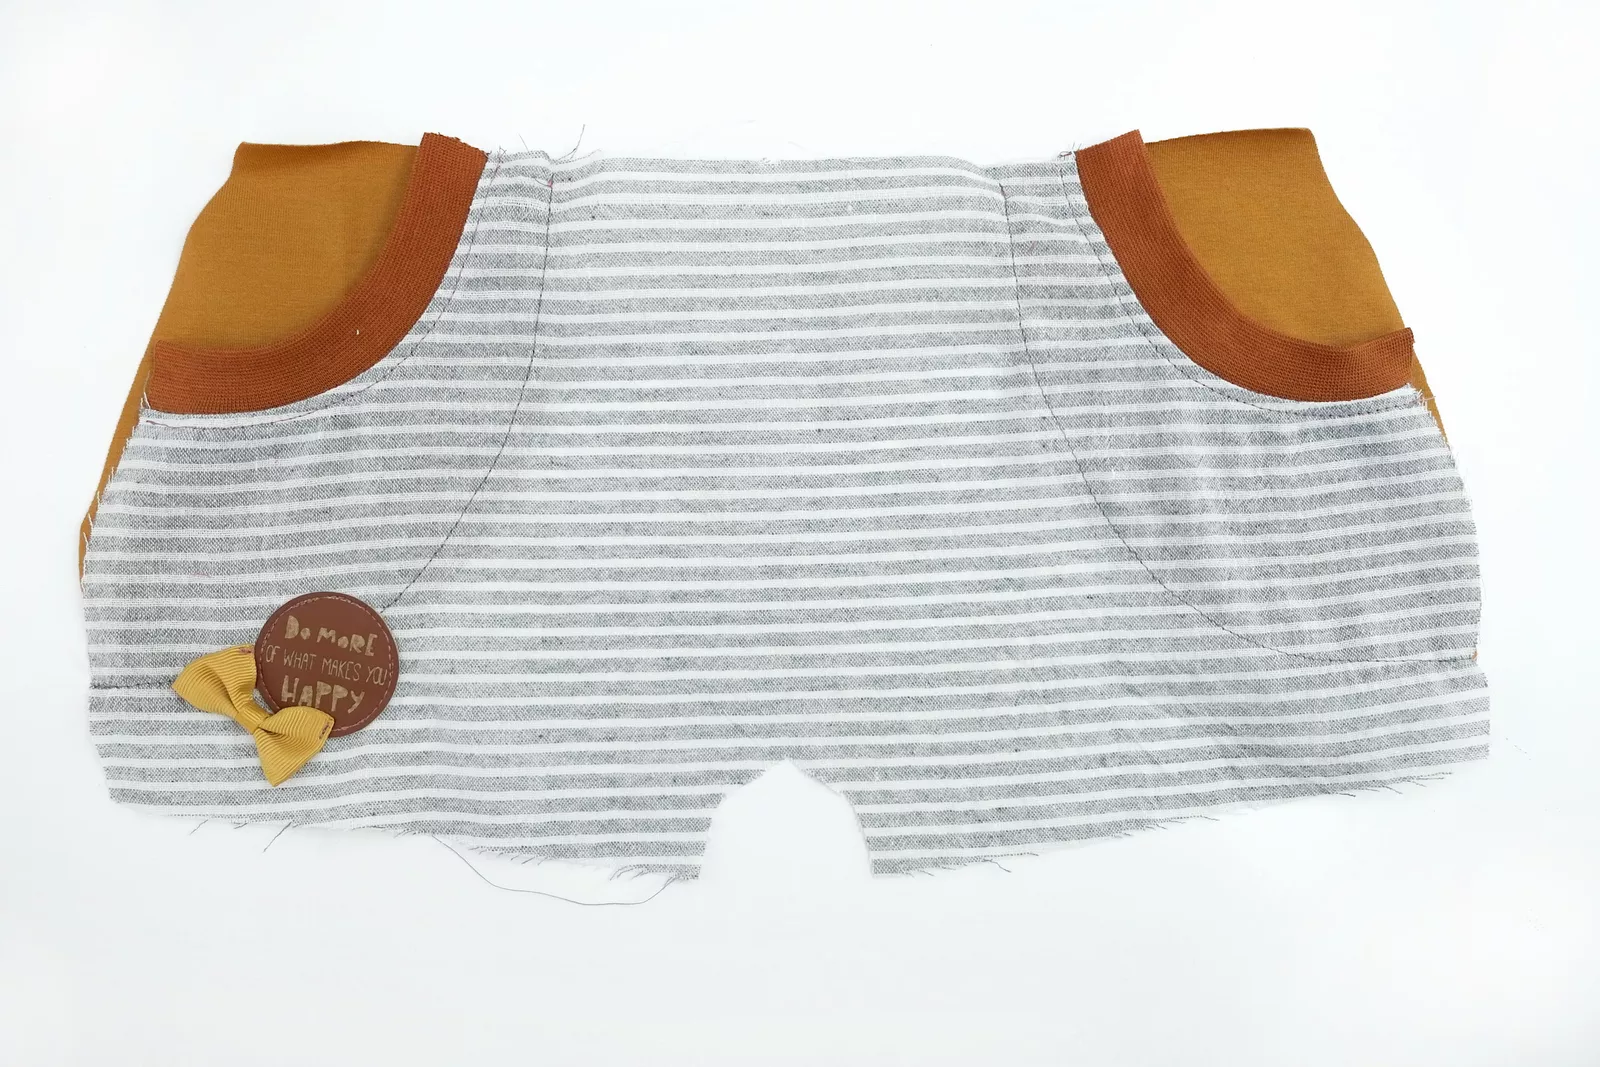
Step 4: Pin both pocket pieces below the pocket openings/fronts (right sides of both pocket and pants facing up). Top and side edges need to be aligned. Sew the pockets to the front using a straight stitch.
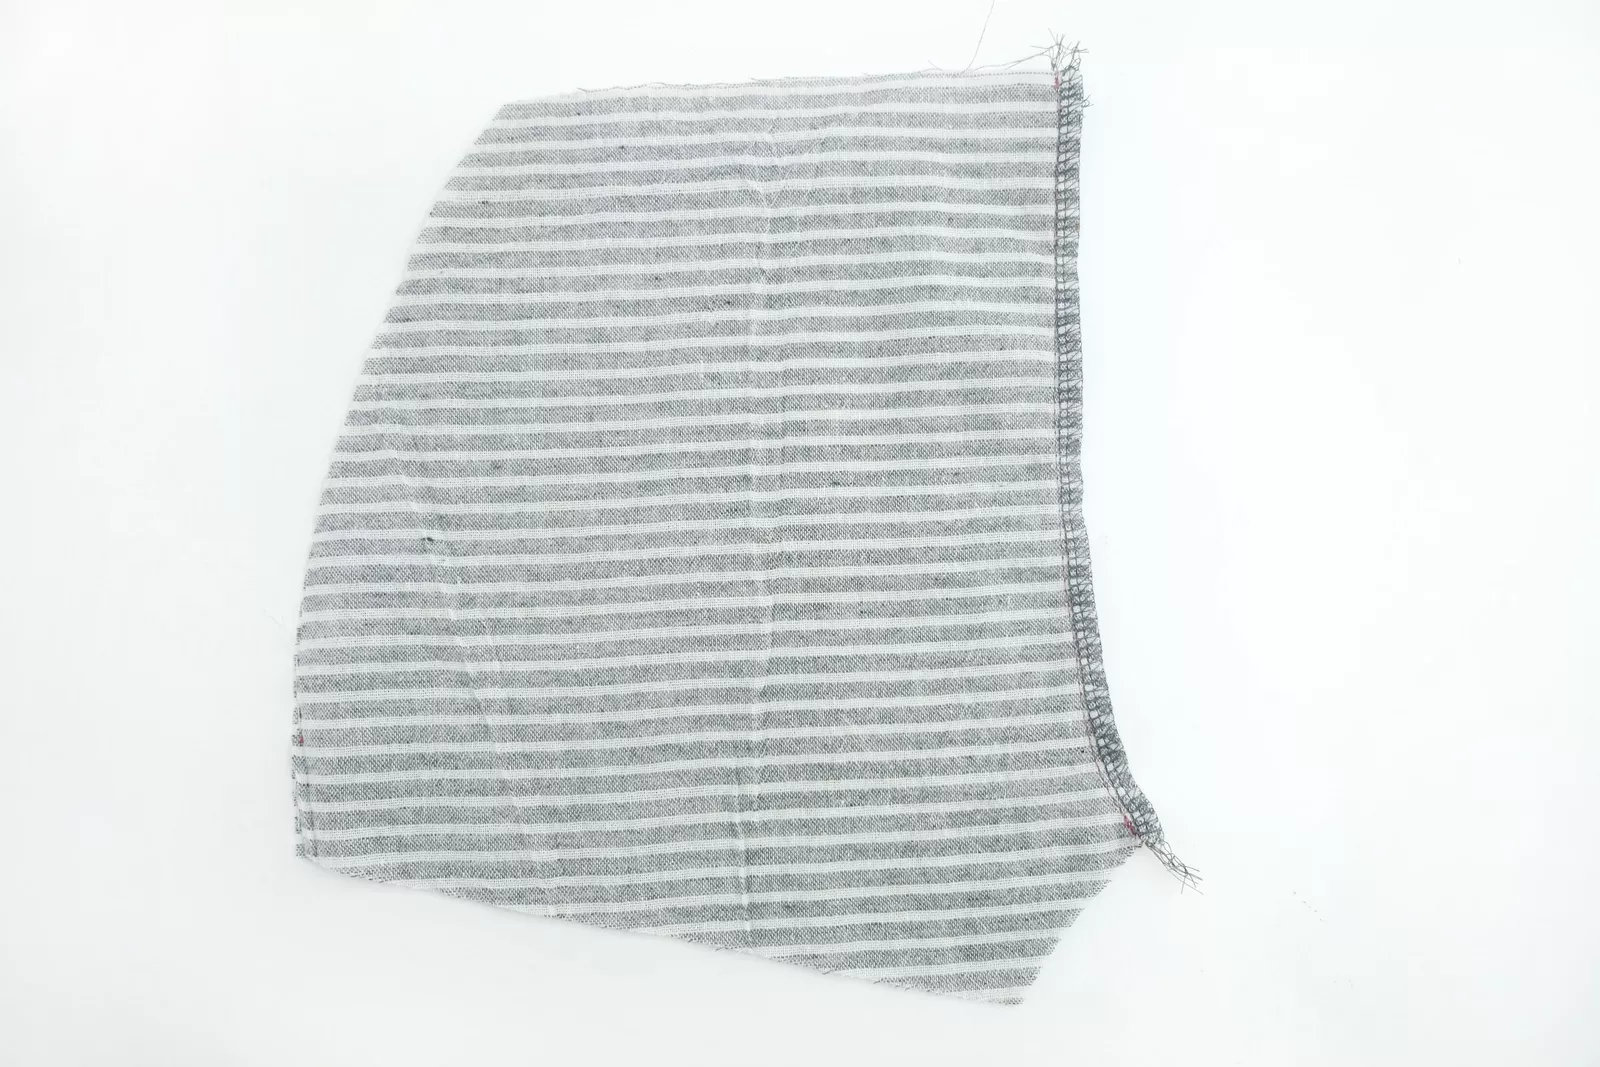
Step 5: Lay both back pieces, right sides together. Pin, and sew the back crotch seam. If you are working with thin woven fabric, make sure to NOT ONLY rely on your serger or zigzag seam. Sew with a straight stitch next to the serger seam to make your seam durable.
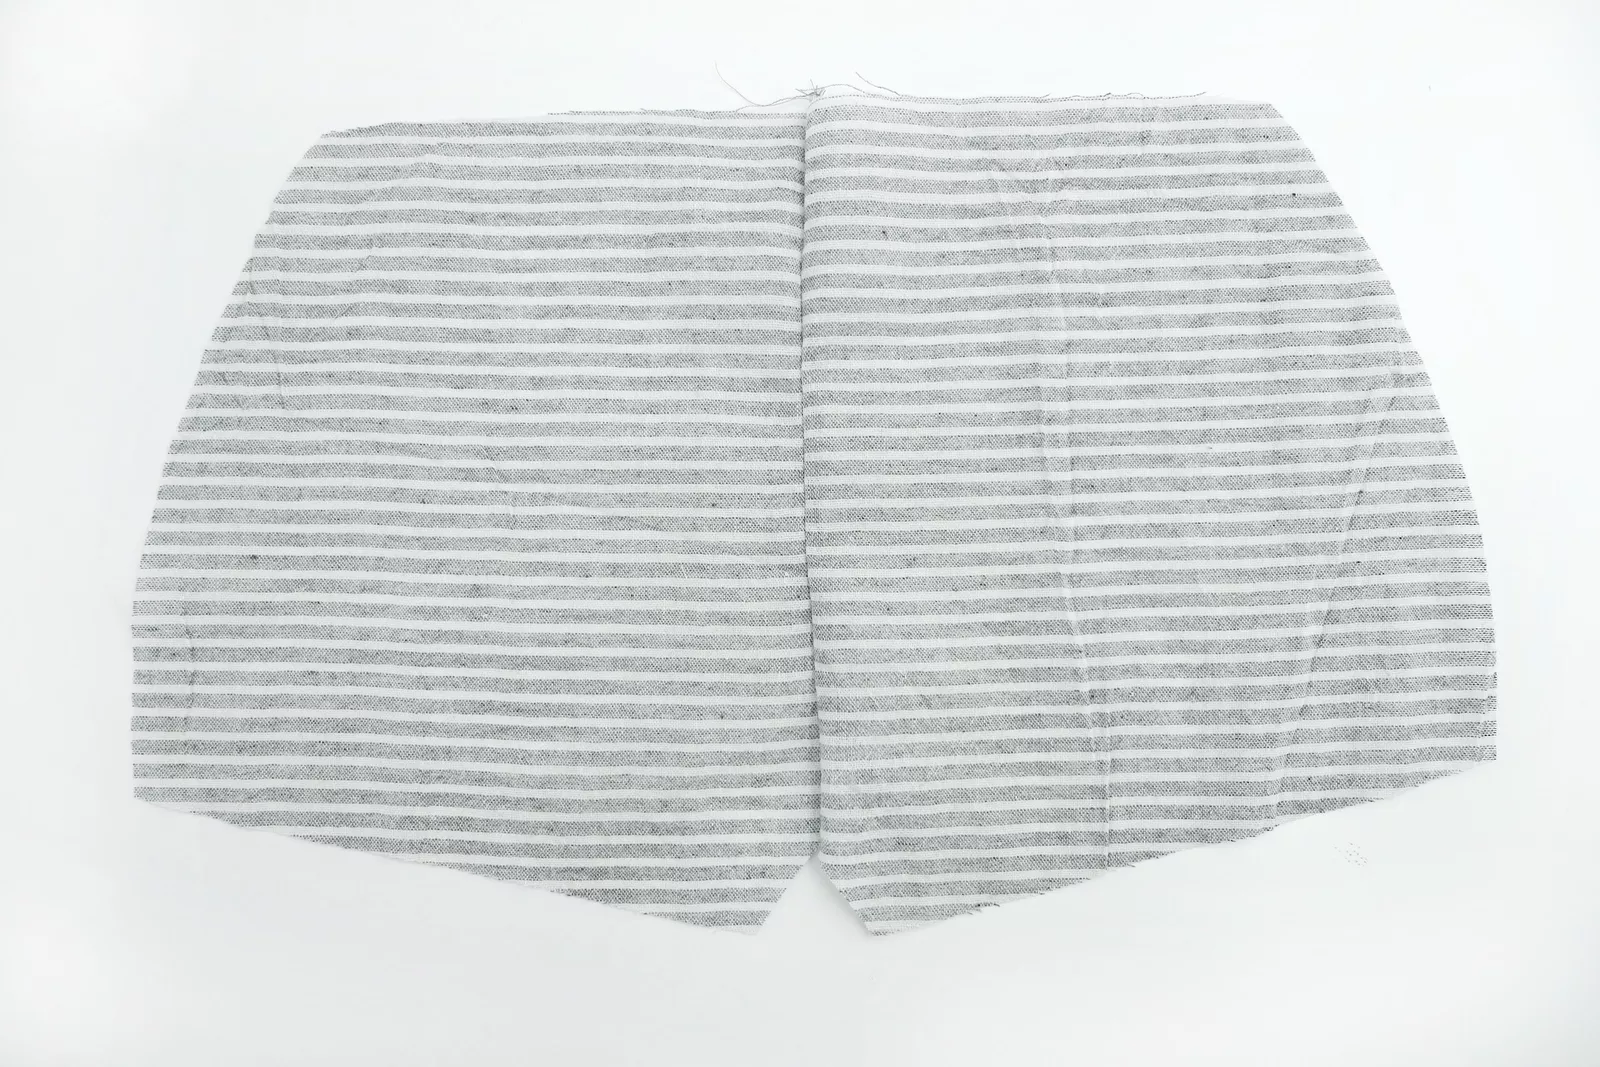
Step 6: If you want to add back pockets, do so now.
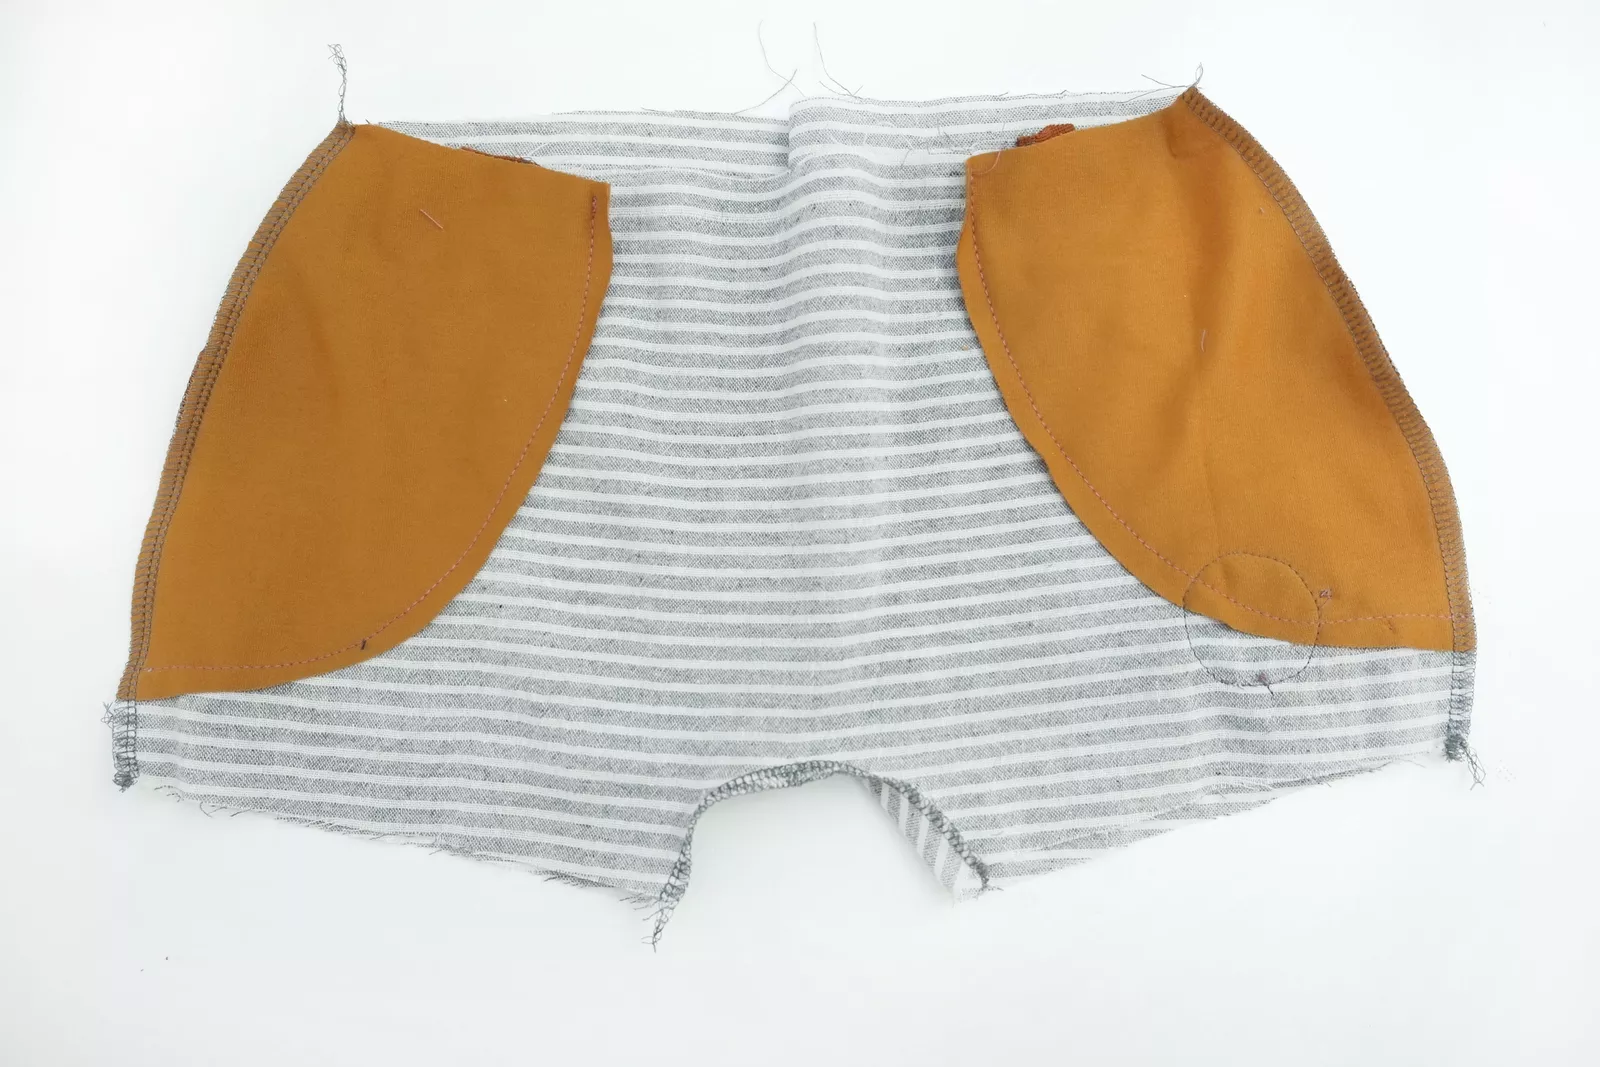
Step 7: Lay front and back right sides together. Pin and sew the side seams. Pin the inseam. Align the center front and center back, at the inseam. Sew the inseam. Remember to sew with a straight stitch, next to your serger seam!
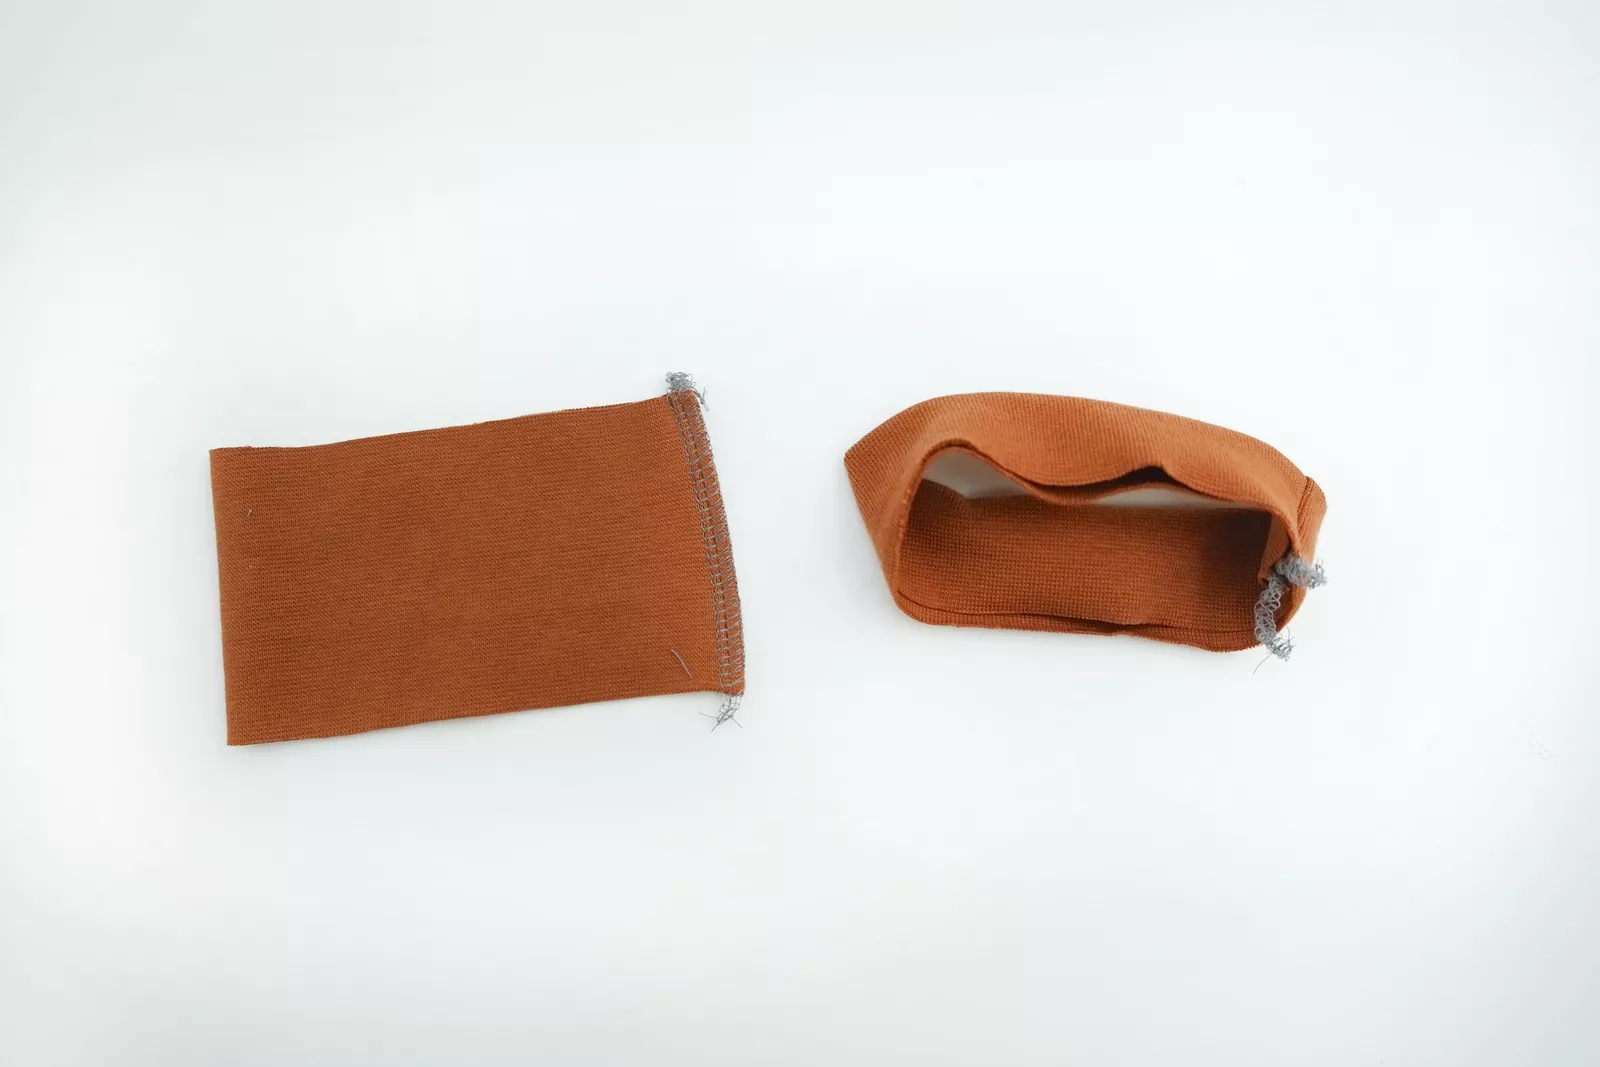
Step 8: Fold the cuff pieces in half with right sides together so that the short edges are aligned. Pin, and sew the side seam closed. Fold both leg cuffs in half with wrong sides together.
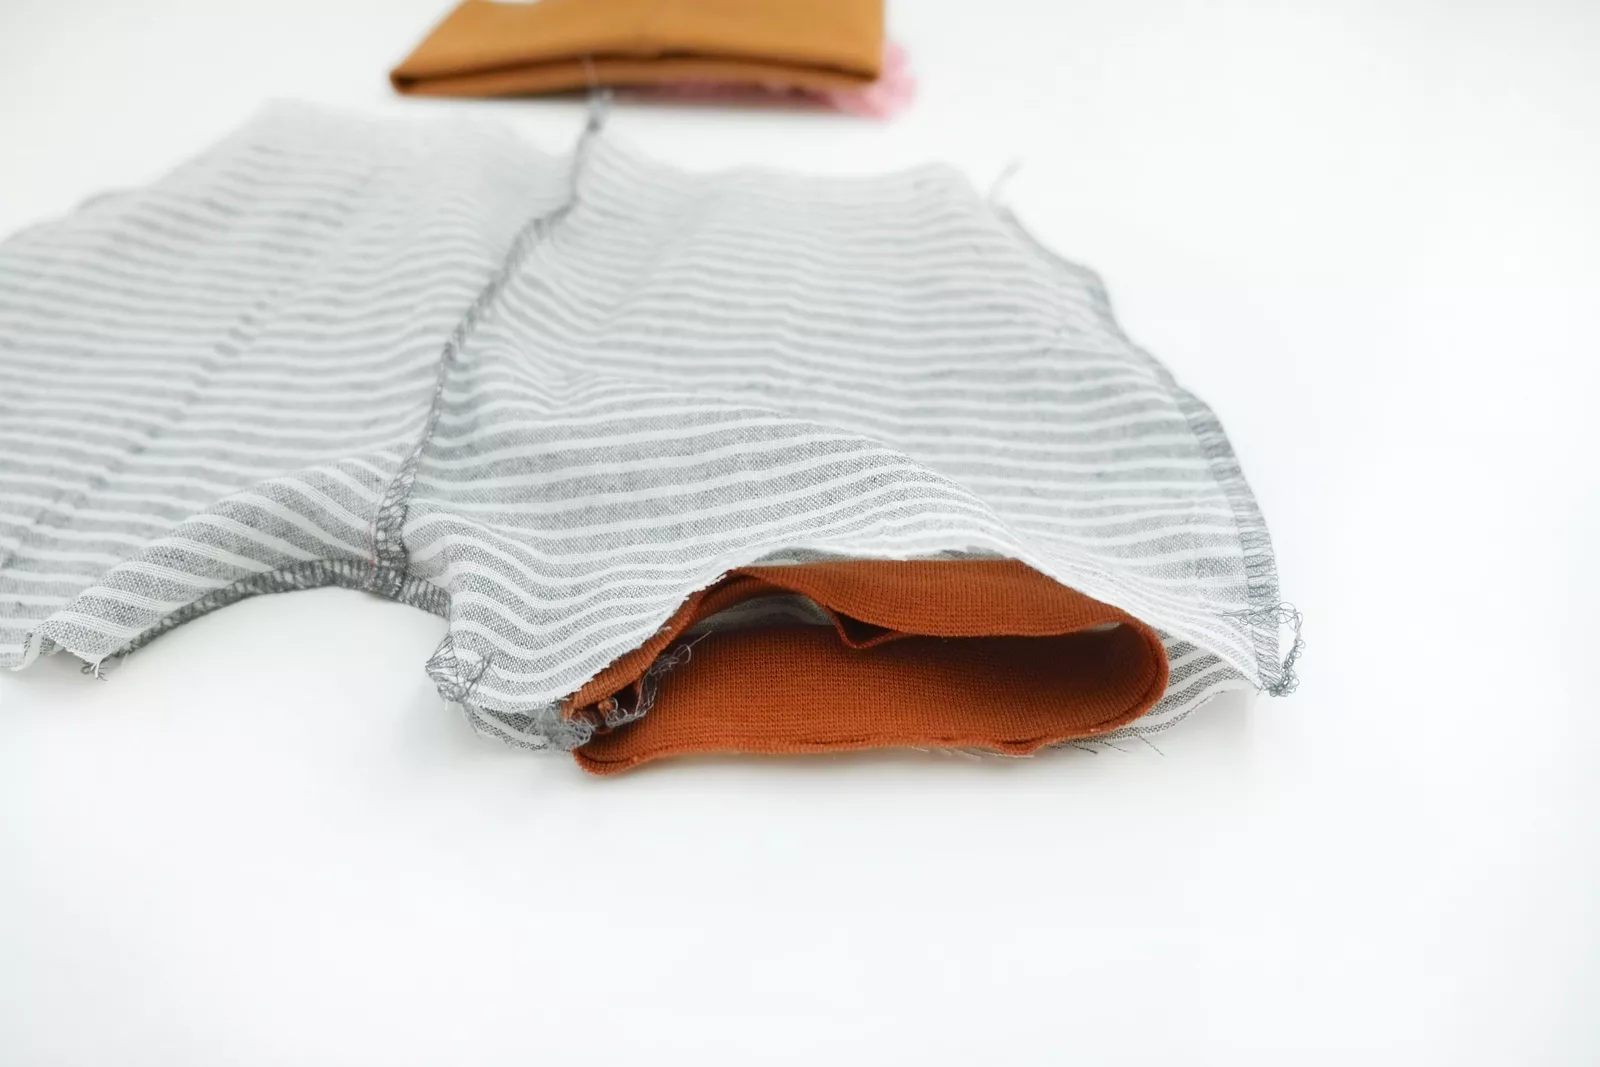
Step 9: Turn your shorts inside out. Slide the cuff inside the leg opening with right sides together and with raw edges aligned. Pin the inseam and cuff seam together, and then pin the opposite sides, too.
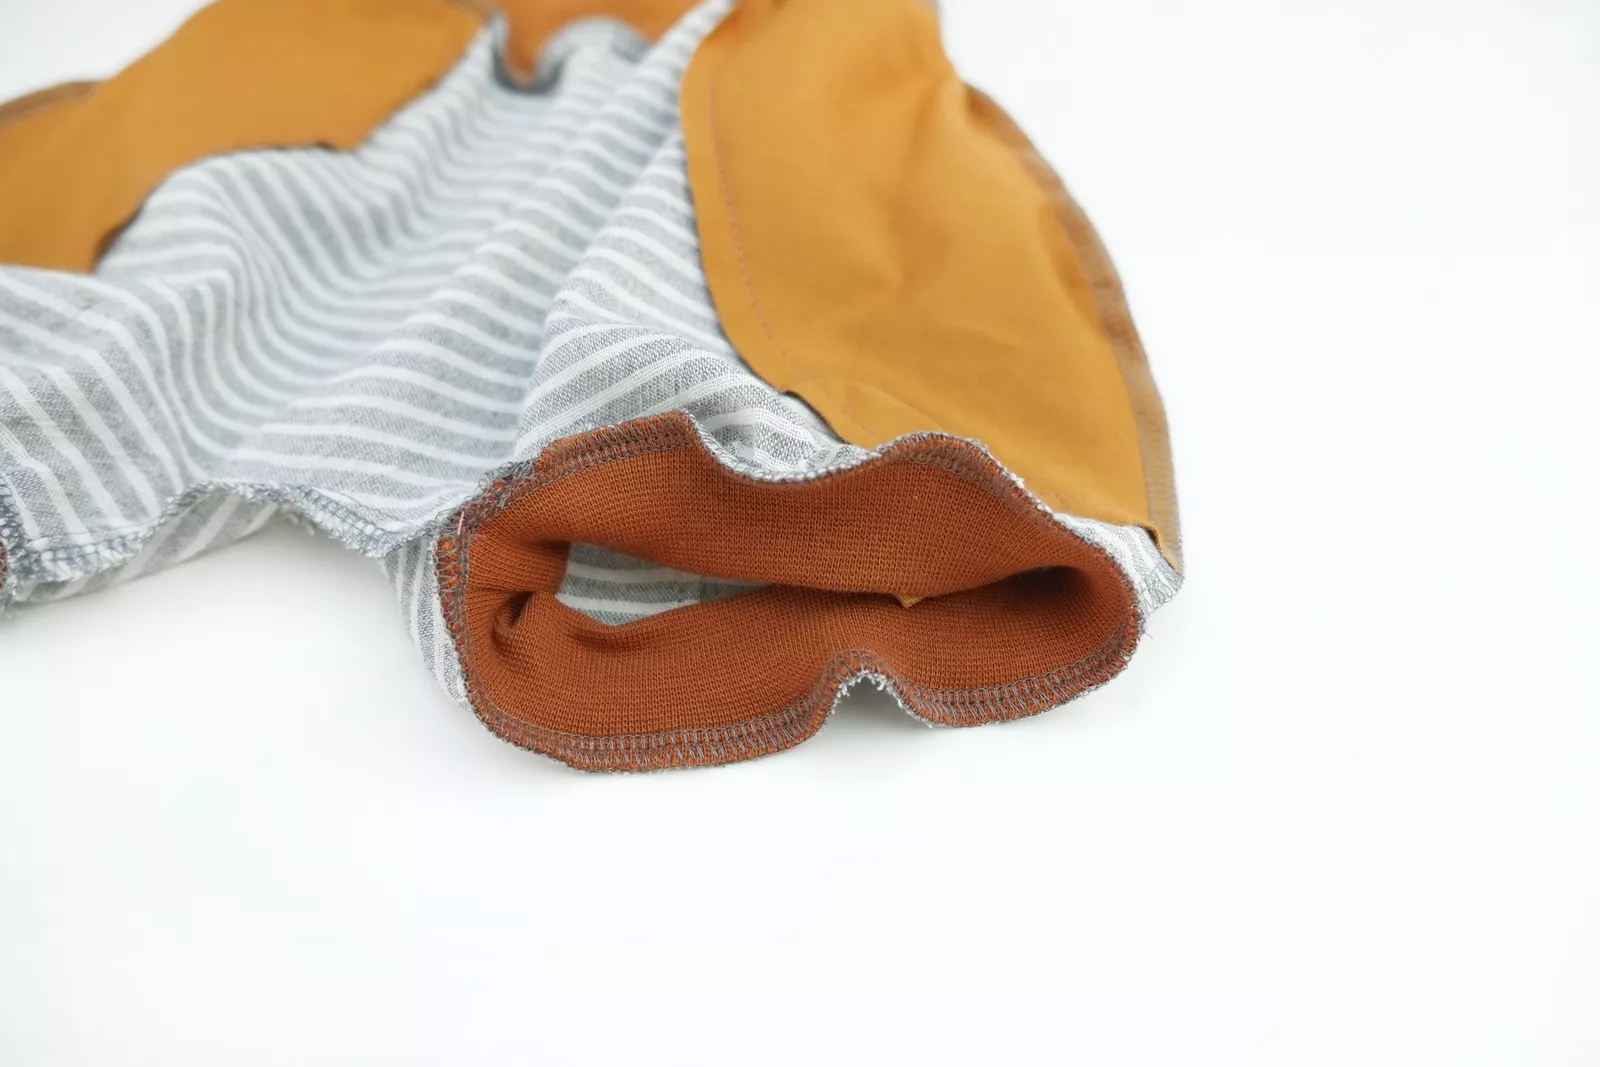
Step 10: Sew, while stretching your ribbing.
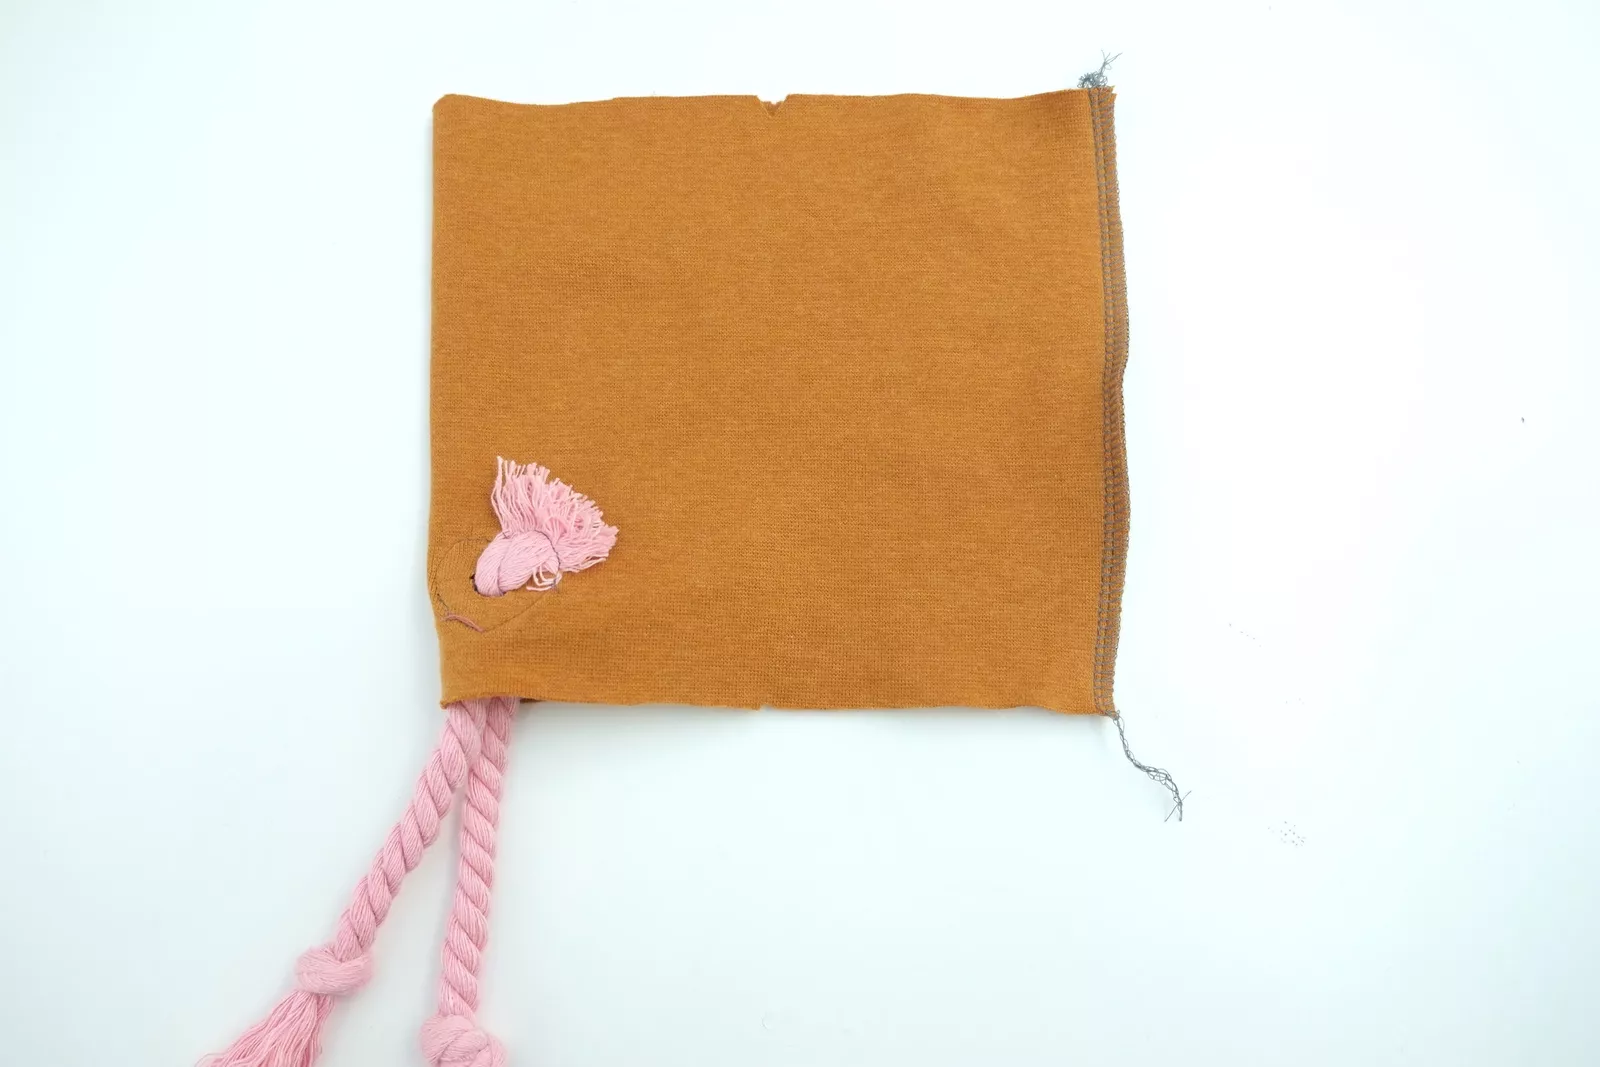
Step 11: If desired, you may now add patches and fake drawstrings to your waistband. Here, I used ready made patches with grommets. Mark the center of your waistband. Then position the patches about 2 - 2.5 cm / 3/4 - 1 inch above the lower edge of the waistband piece and about 1 -2 cm / 3/8 - 3/4 inch from the center. Sew the patches on using a stretch stitch. Fold the waistband in half, lengthwise. Make sure you fold right sides together, and align both short edges. Sew.
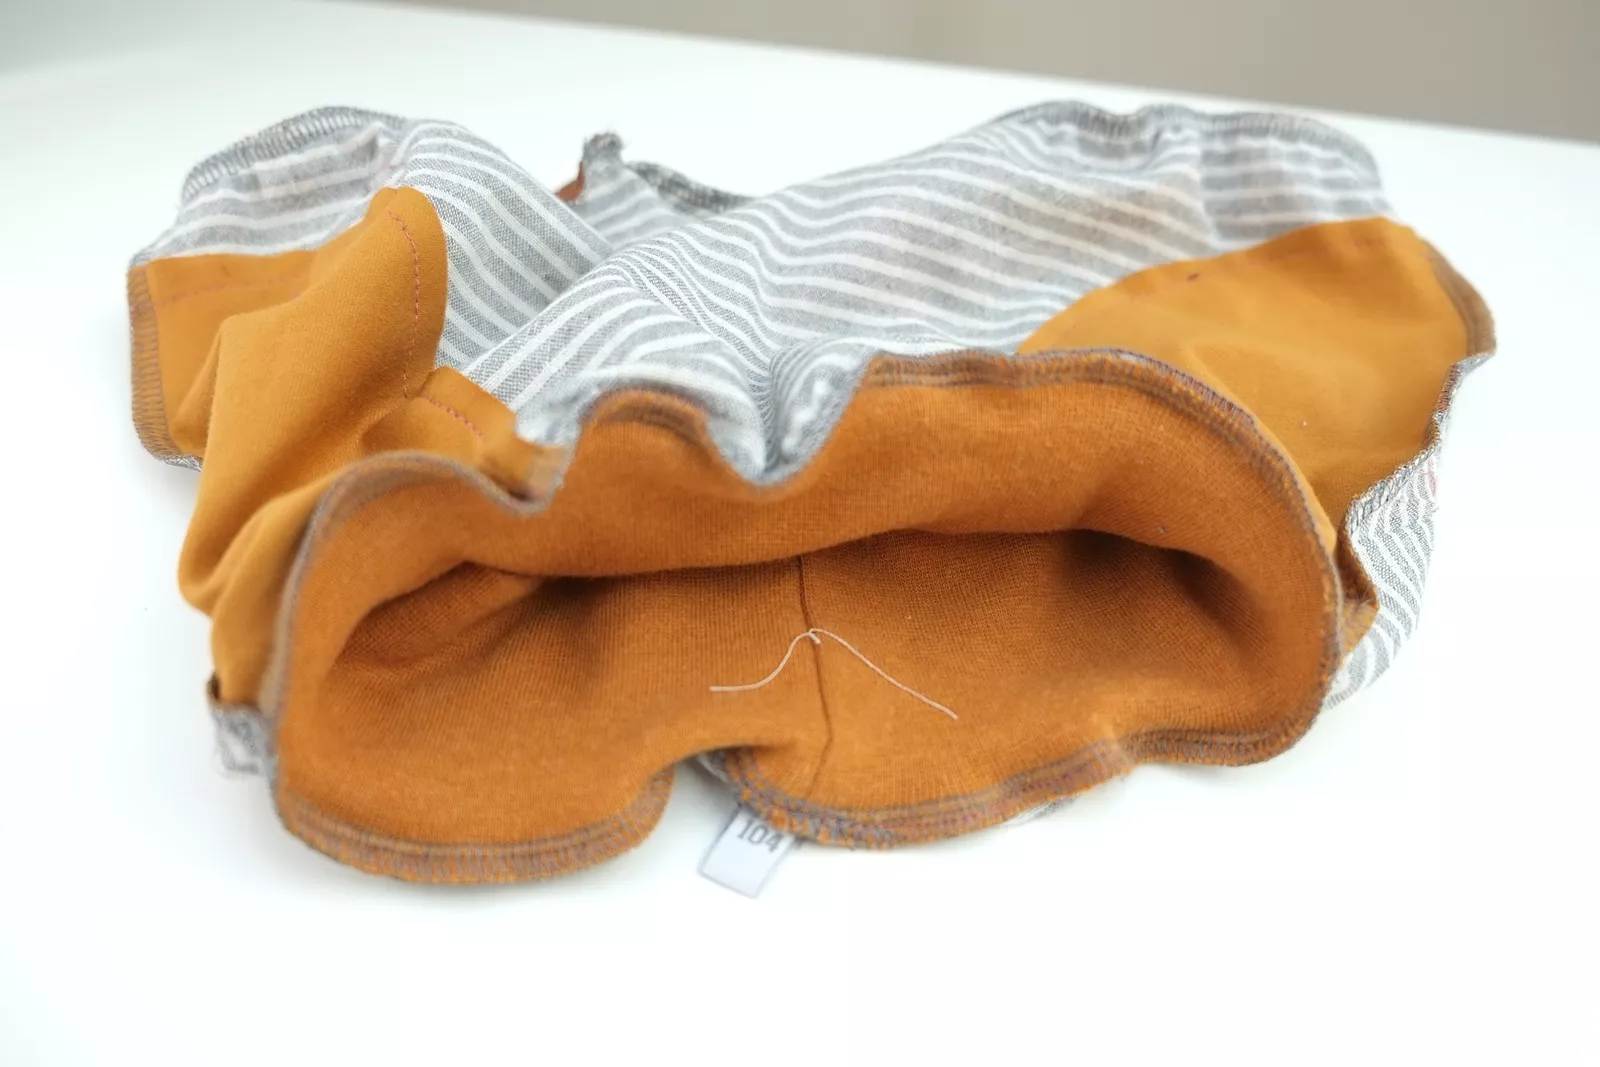
Step 12: Slide the waistband into the top of the shorts so the waistband and shorts are right sides together and all raw edges are aligned. Make sure you align waistband seam and center back seam.
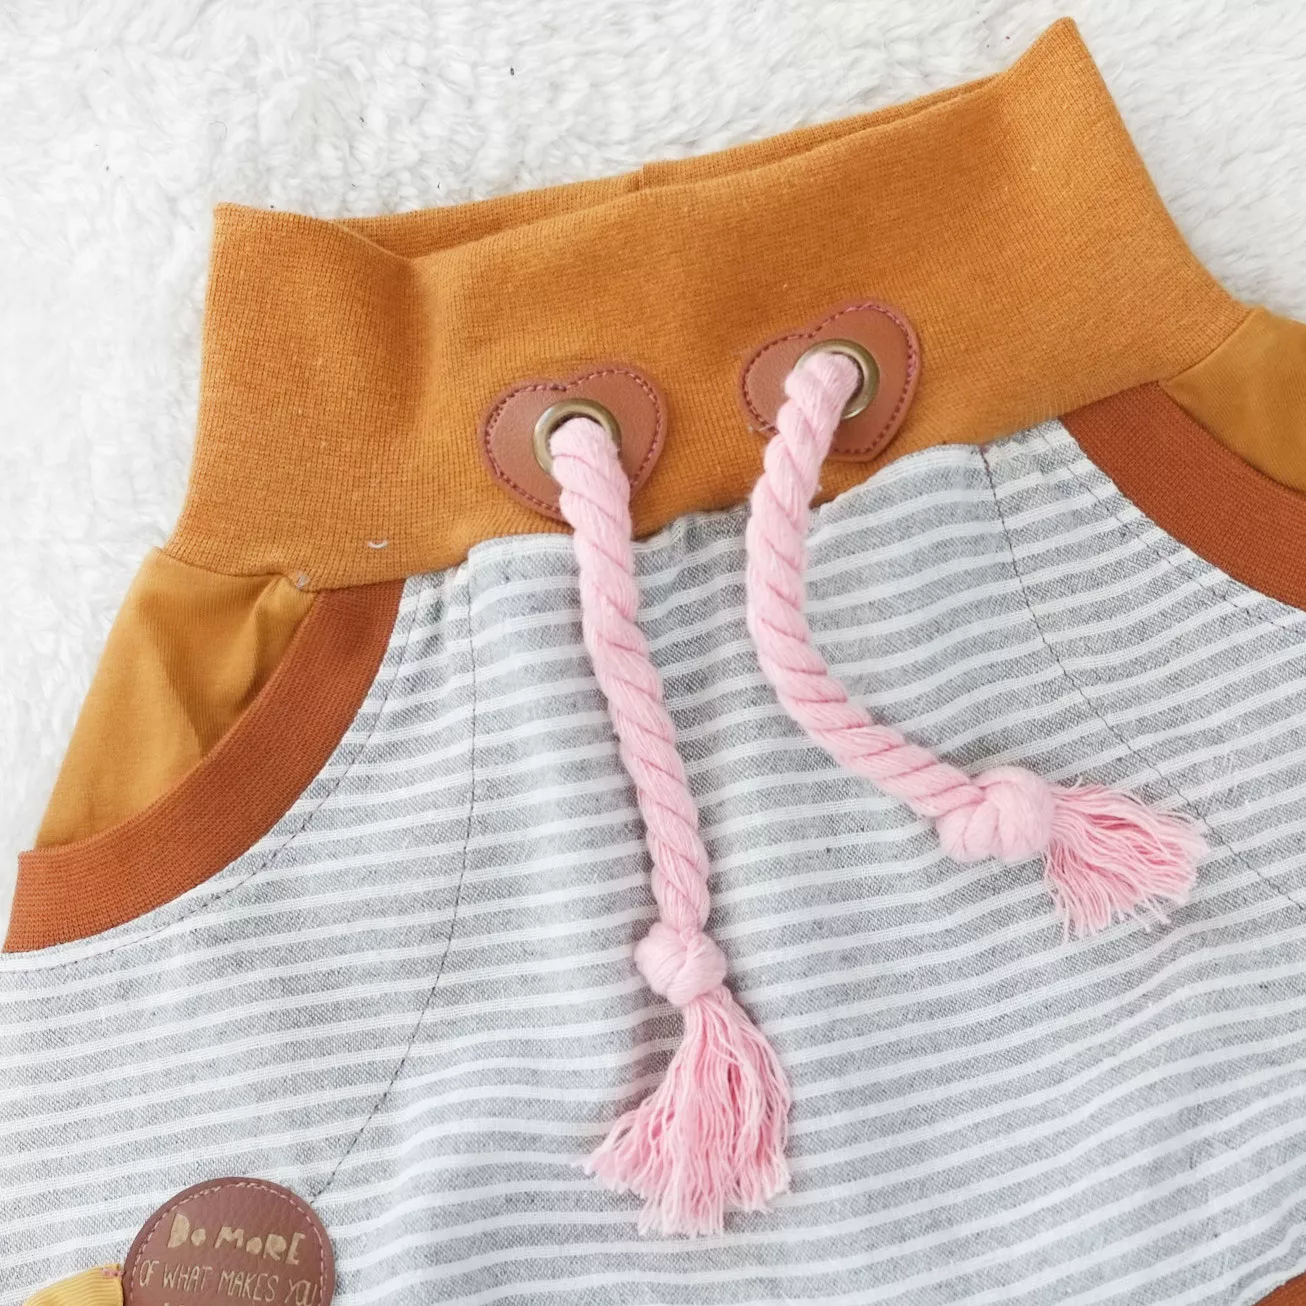
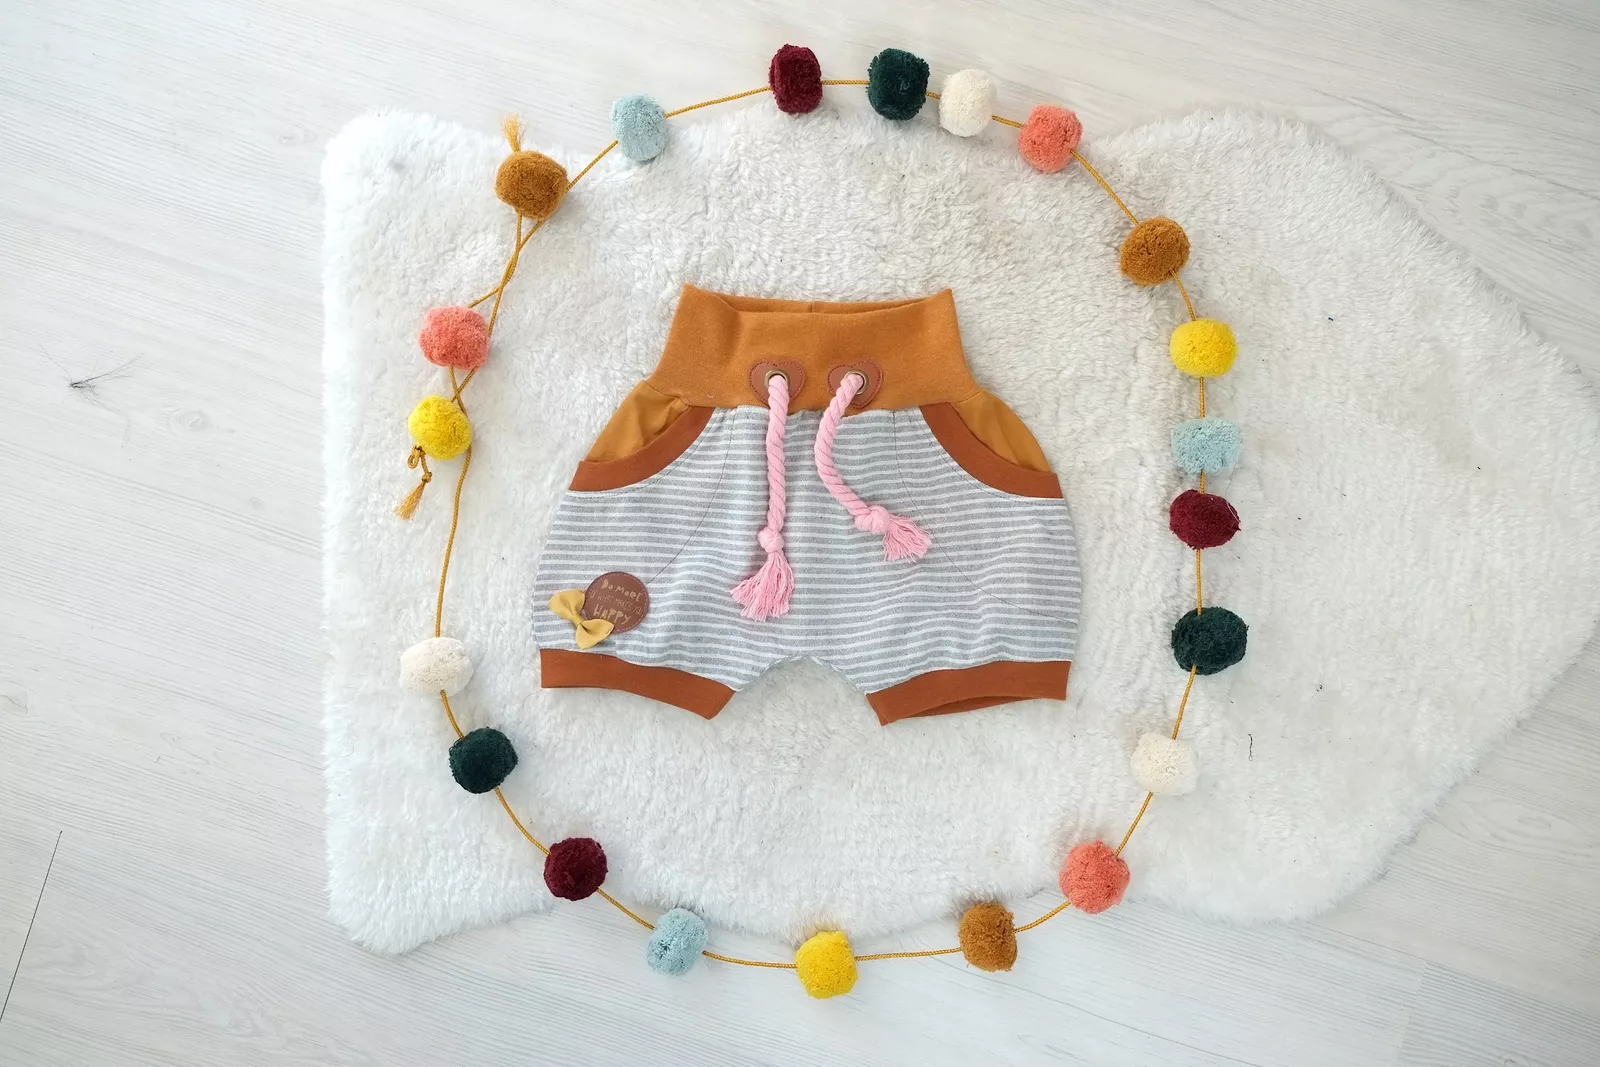
Ready! Harem shorts - not only for summer! With tights underneath you can also wear them in spring and autumn.
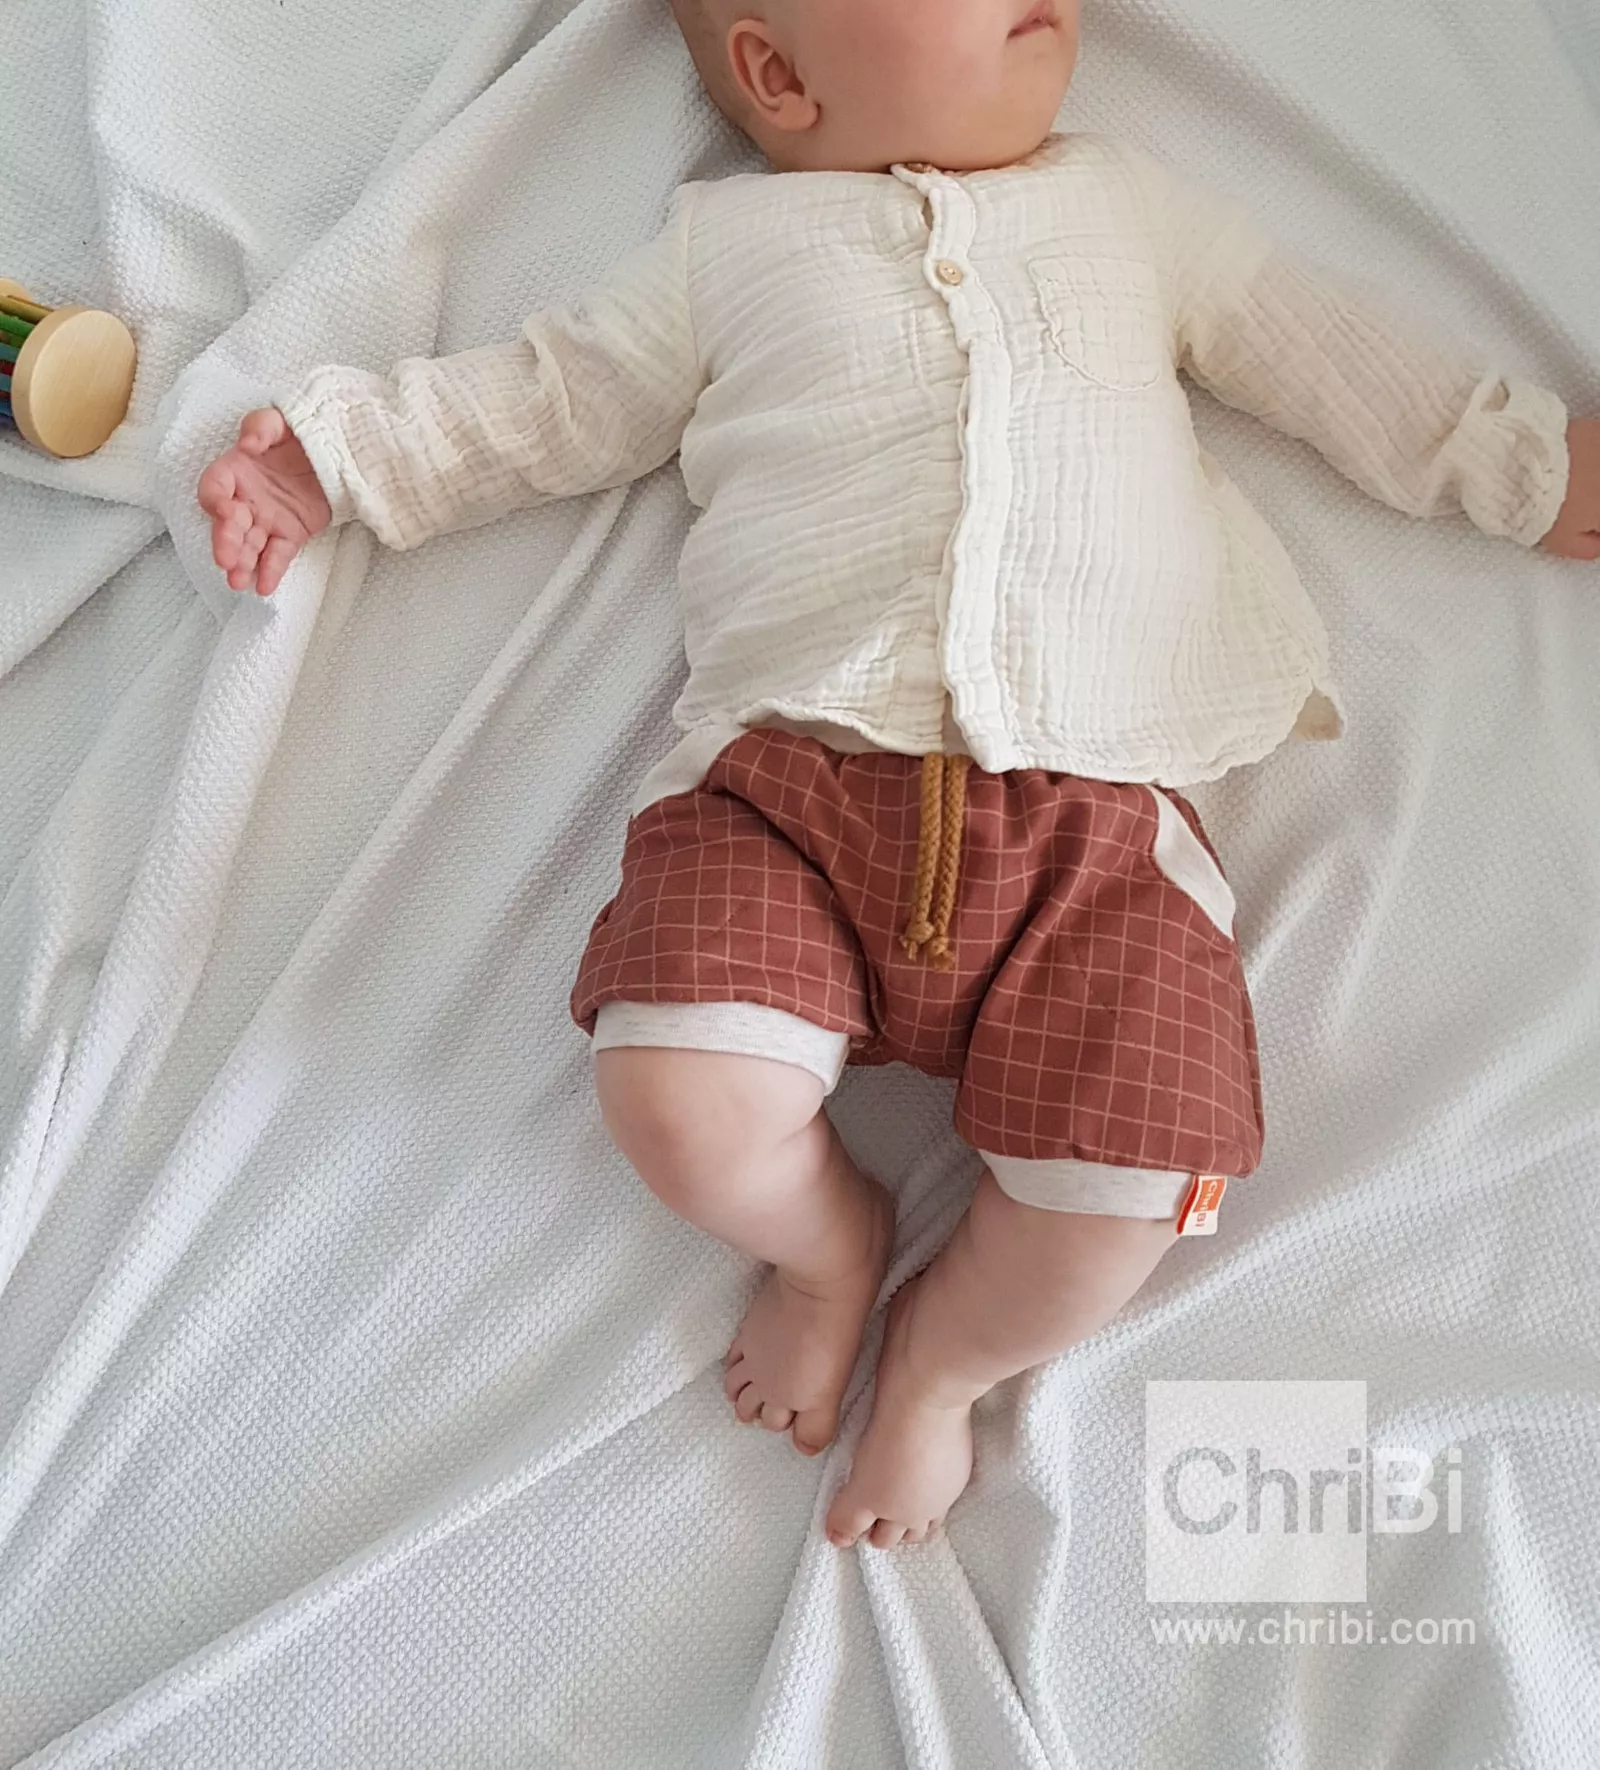
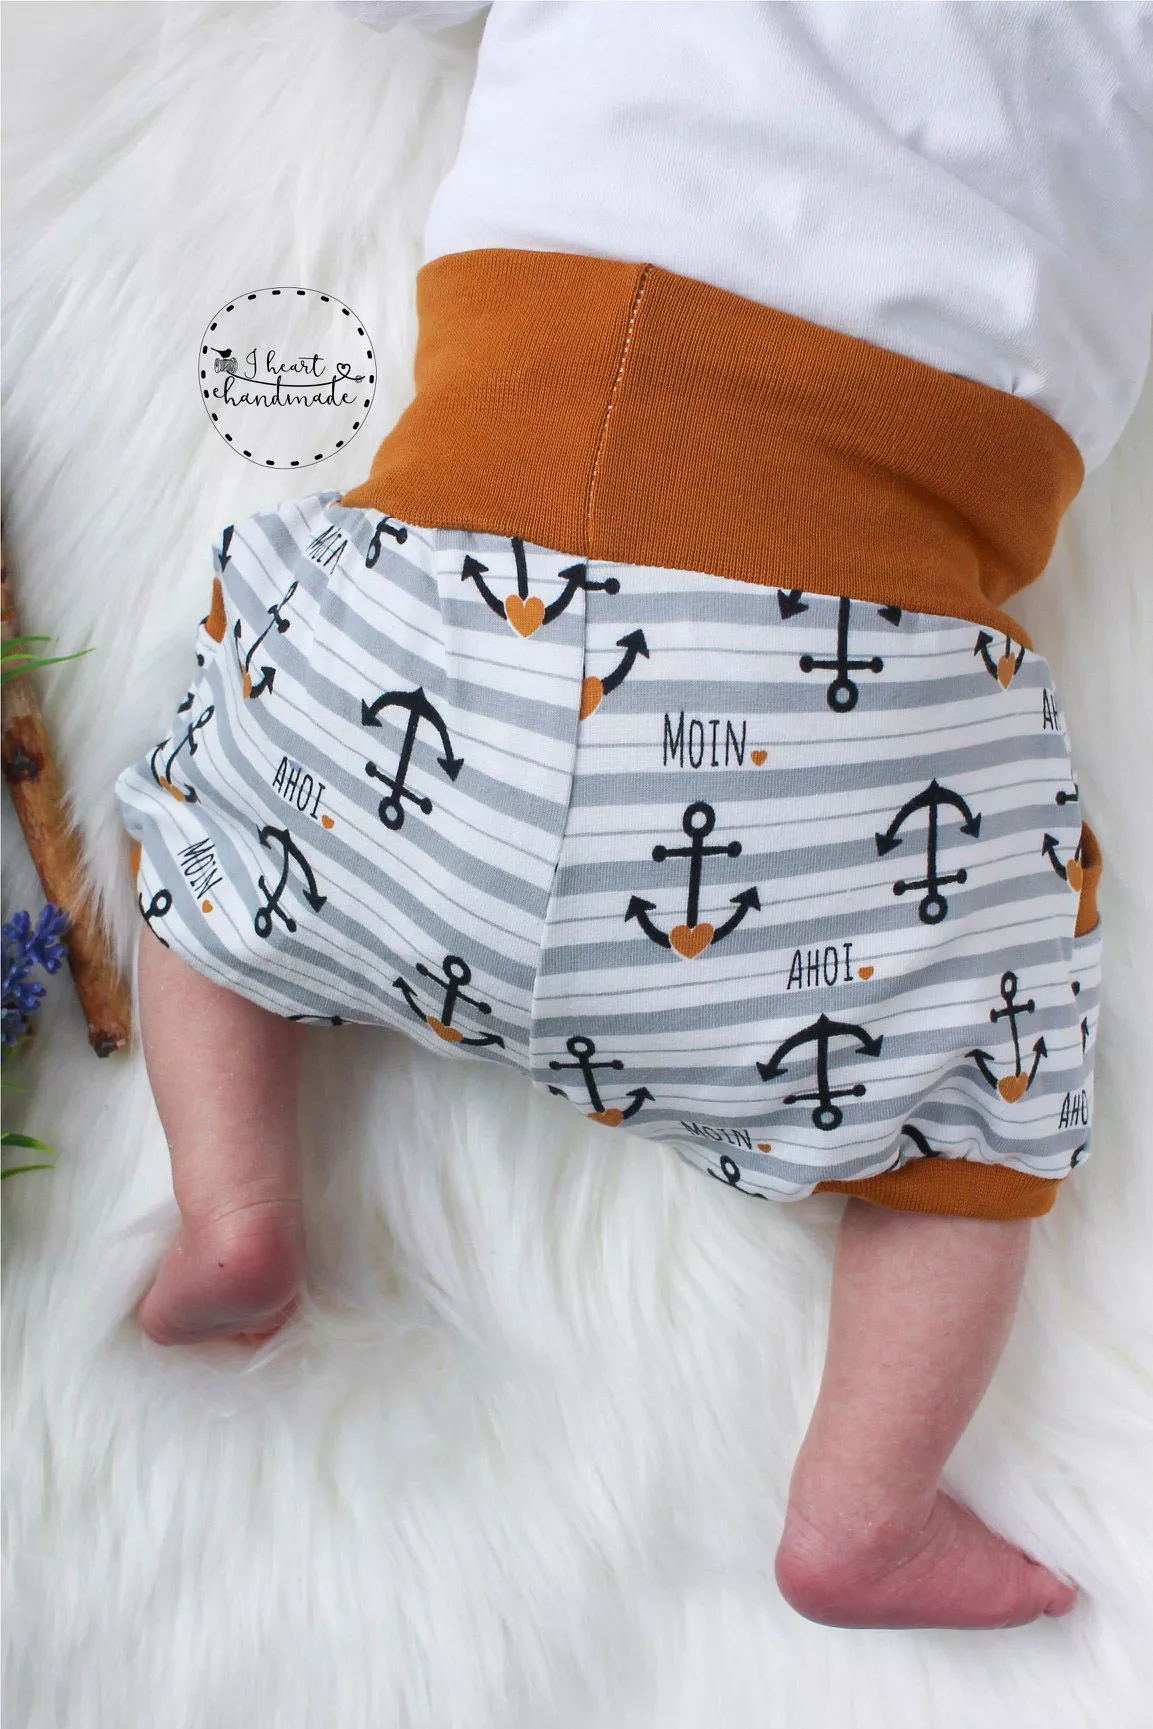
Have fun sewing! If you share your work on Facebook or Instagram, I'm always happy if you link it with @lybstes or #lybstesschnittmuster or of course #lybsteskurzepumphose.
Lybste Grüße
Ronja